
Better document collaboration using SharePoint libraries
In this story-based tutorial you will learn to:
- Create and use document libraries
- Take documents offline
- Access documents on the go
- Share documents
Before launching our new blog, we brainstormed as a team on how to structure the document process. We decided to use a SharePoint library to manage the documents to keep track of categories, approvals and publishing dates.
Creating a SharePoint document library
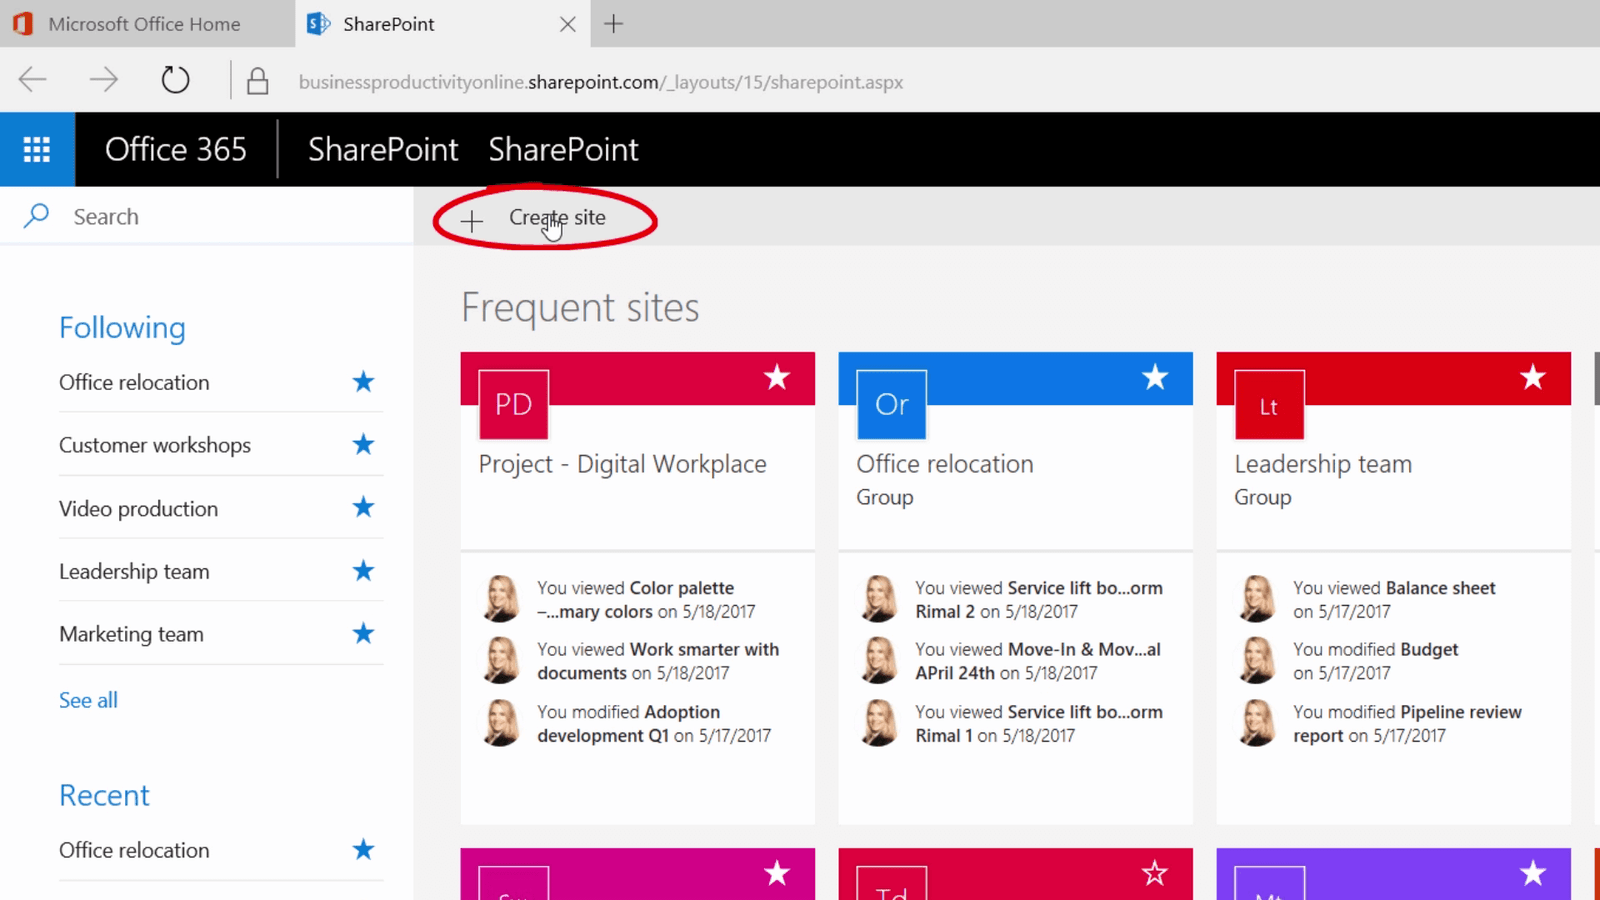
To create a SharePoint library, log in to Office 365. Click the SharePoint tile. Select an existing team site, and click “New” and then “Document Library”. Or, if this is a new initiative with a new group of people, create a new SharePoint team site by clicking “Create site” and follow the steps.
Renaming SharePoint document libraries
As soon as you create a SharePoint team site, a document library named “Documents” is created by default. In this case, we want to have a document library specifically designed to support the process for our blog articles so to make this clear, I’ll rename the document library. To change the name of a document library, click the “Settings” icon in the top right navigation.

Select “Library Settings” and then select “List name, description and navigation”. In the name field, type in your preferred name. Here I’ll change the name to “Blog articles” I’ll write a short description and then click “Save”. The new name is now shown at the top of the document library as well as the Quick Launch bar.

Uploading documents to a SharePoint library
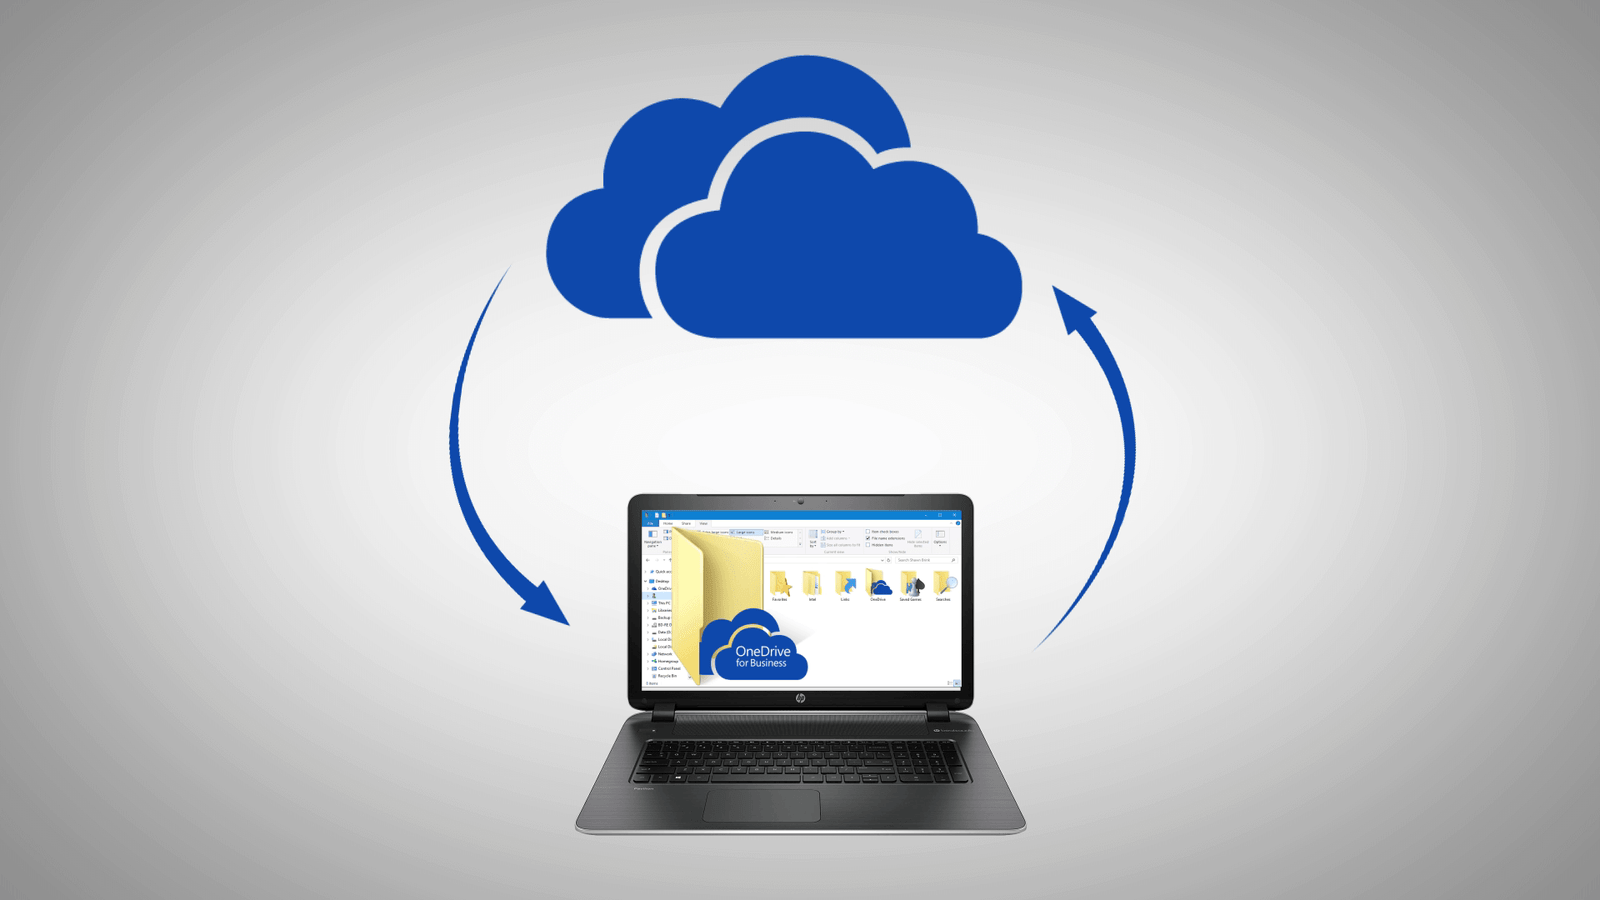
Now, I’ll upload some blog articles that I have started to work on. To upload documents to your SharePoint Library, click “Upload” and then Files or Folders. Navigate to where your documents are located. I have my documents saved to OneDrive for Business in the cloud with a local, synchronized copy on my laptop.
I have the blog articles organized into various folders by category. This view doesn’t give me a very good overview of the articles. Instead of creating a hierarchy with folders in SharePoint, I’ll only upload the files. To see all files, I’ll enter a “*” (star-sign) in the search field. Now I can see all documents no matter what folder they are stored in.

To select multiple documents, hold down the “CTRL” key and mark the documents you want to upload. Since I want to upload all documents, I’ll mark the first document, hold down the “SHIFT” key and then mark the last document. All files in the range are marked. I’ll click “Open” and the files are uploaded.
Another way to upload documents to a SharePoint library is to simply drag and drop the documents you want to upload from the File Explorer window to the SharePoint browser window. You will see a status indicator showing the progress of the upload. Click on it to see the detailed upload progress file by file.

Adding columns to a document library
To get a better overview of the category each document belongs to, I’ll add “Category” as a column. To add a new column, click the plus sign right above the document list. Here you get a selection of common options. Click “More” to see more options. I’ll type in the name “Category” and then I’ll select the “Choice” option. Next I will write down the various options we have for our categories. I’ll select to “Allow Fill in” choices which means that users can add new values. I don’t want there to be a default value for category, so I’ll delete the value and then click “OK”.

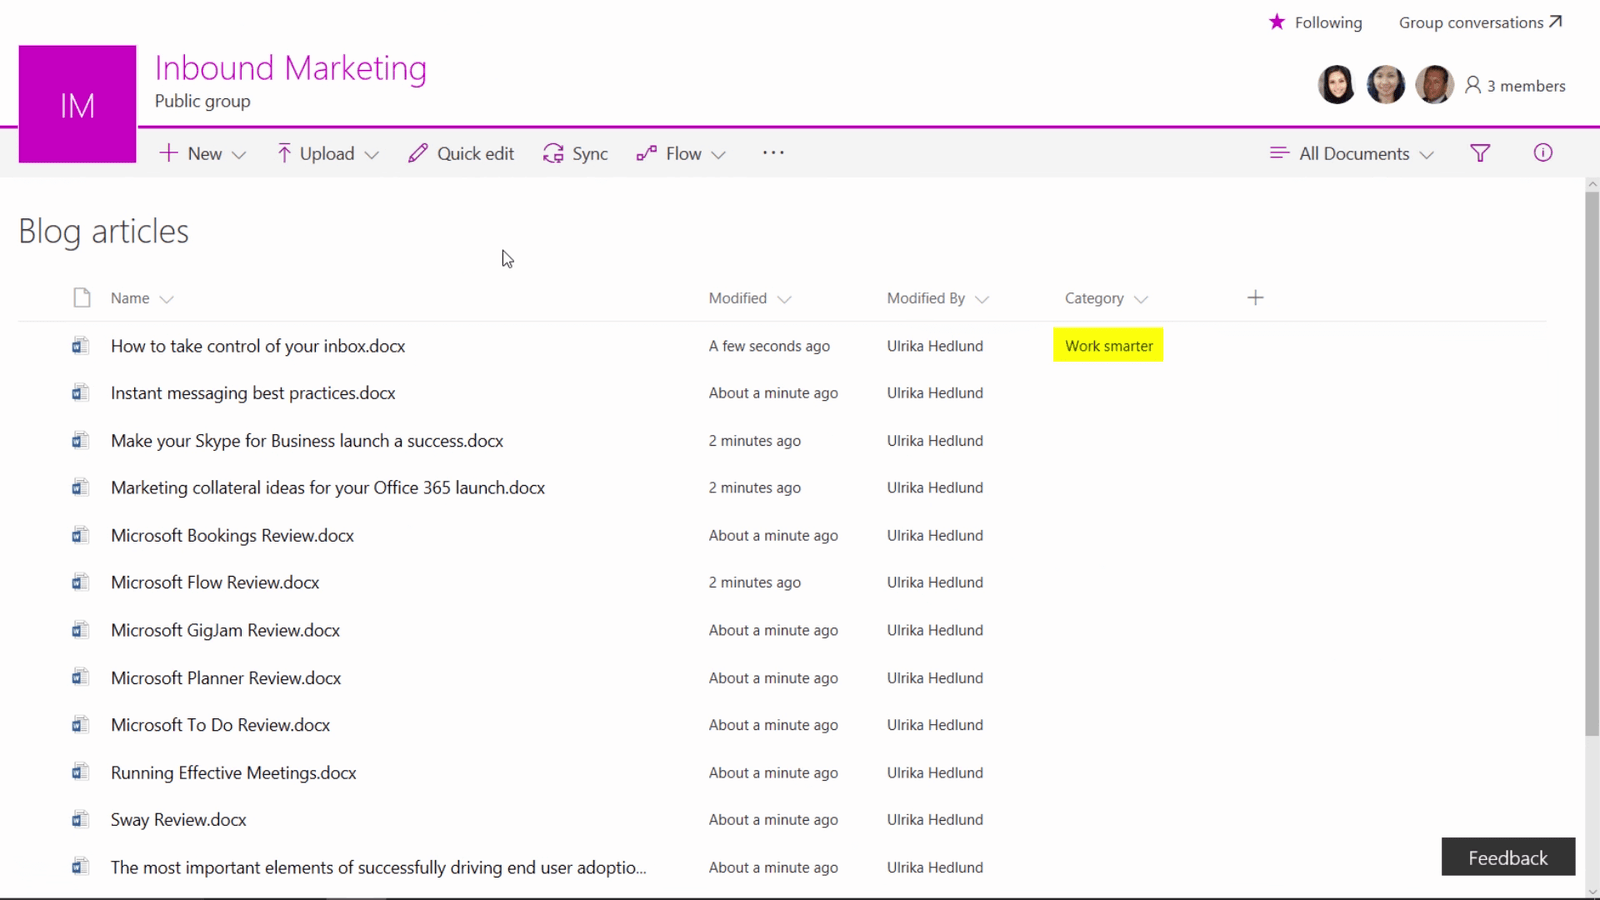
Now I can mark a document, open the information panel by clicking the little “information” icon and then enter the category by selecting from the drop down, or typing a new value. When I close the information panel, the category is clearly visible in the library view.
Changing document properties using Quick Edit
To quickly add column information to multiple documents, click “Quick Edit”. The library view changes into a grid, and you can easily add information in the column, without having to open each individual document.
To copy values across multiple documents, place your marker in the bottom right corner of the cell and drag the marker down. Using Quick Edit I can quickly add the appropriate category for each document. When all fields have been populated I click “Done”.

In addition to Category, I’ll create another choice column for the status of the document with the following steps: Draft, For Review, Review completed, Approved, Rejected and Published.
Finally, I’ll add a date column named “Publish date”. This will be empty until the blog is published on our web site.
There, now that I have all the documents securely saved to SharePoint, I’ll delete them from my OneDrive for Business folder to eliminate duplicates.
Sharing links with external business partners
Carrie, works as a freelance PR and social media expert. We’re meeting up later today to discuss if she can help us with our new blog. Before I see her,I’ll send her a link to one of our blog articles.
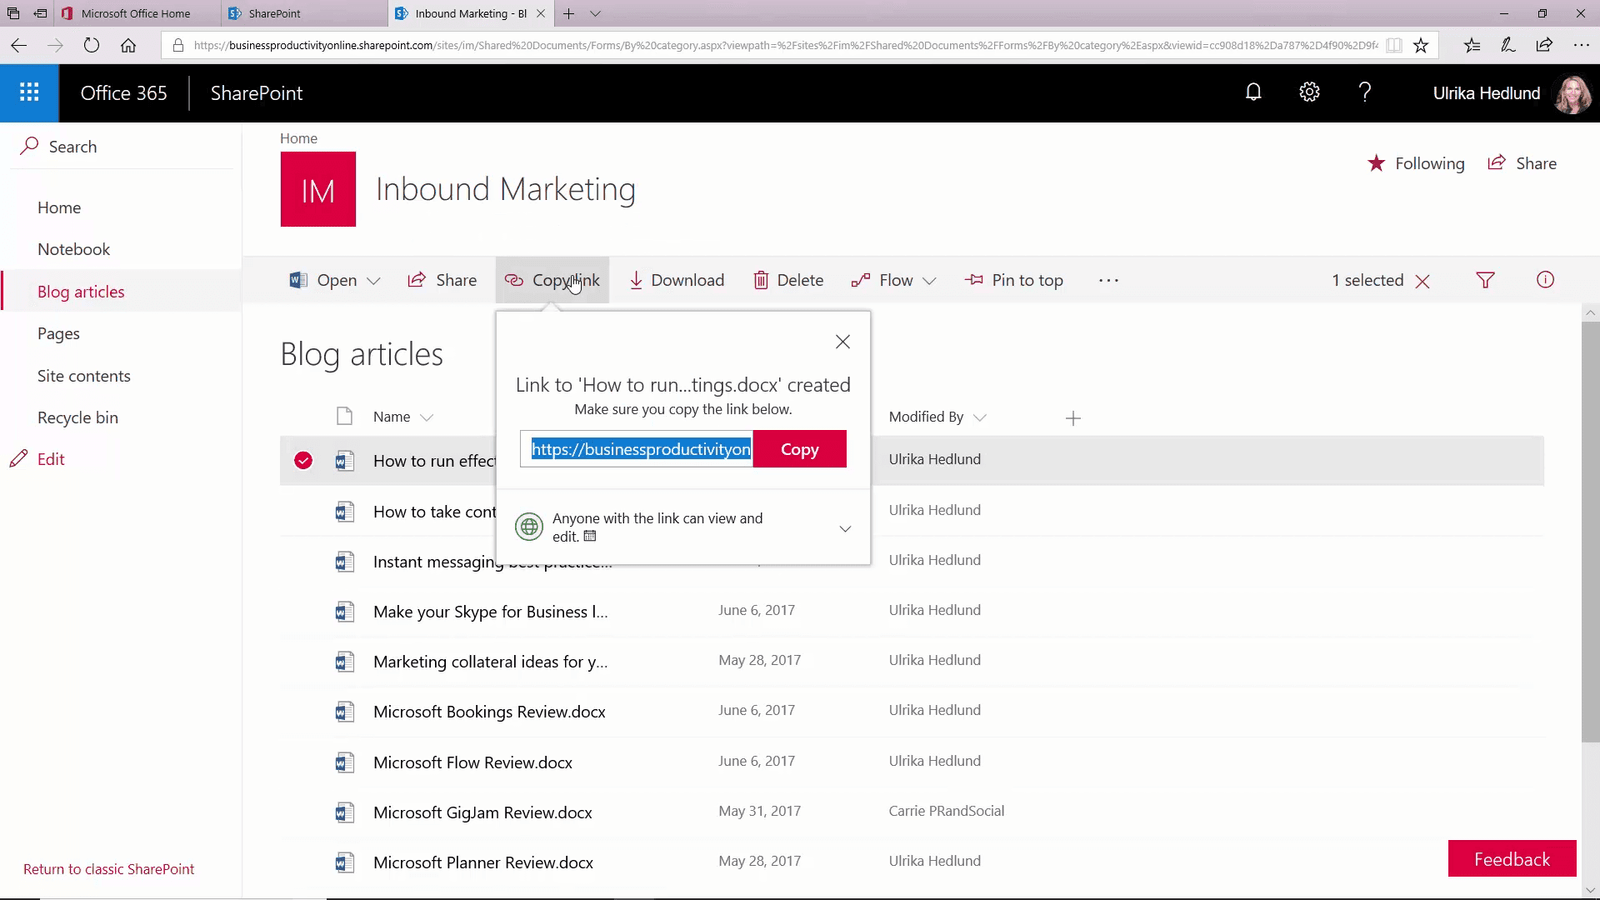
To generate a sharing link, mark the file you want to share and click “Copy link”. The default setting is to allow anyone with the link to view and edit the document. This way Carrie can forward the link to her team.
I’ll click the drop-down for more options. Here I’ll select an expiry date for the link, click Apply and then click to Copy the link.
I open Outlook where I have an email drafted for Carrie. I’ll mark the word I want to add the link to, right-click, select Hyperlink, paste in the sharing link, click “OK” and then send off the email.
Taking SharePoint document libraries offline
Next I decide to go outside to work on the blog articles. To access the blog articles even when I’m offline, I’ll synchronize them to my computer. To synchronize a SharePoint library to your computer, click “Sync”.

After a while, the OneDrive client opens and the files are downloaded to your computer. A green check mark next to the document indicates that it has been synchronized. I grab my computer, sit down in my quiet space without Internet and do some writing. As soon as I’m back in the office and connect to the wifi again, the changes are automatically synchronized back to the SharePoint library.
Viewing SharePoint library activity on your mobile
When I meet with Carrie, she asks to see what other types of blog articles we have planned. I didn’t bring my laptop, but I can access the SharePoint site on my phone. I open the SharePoint app, here I can see the Inbound marketing team site at the top.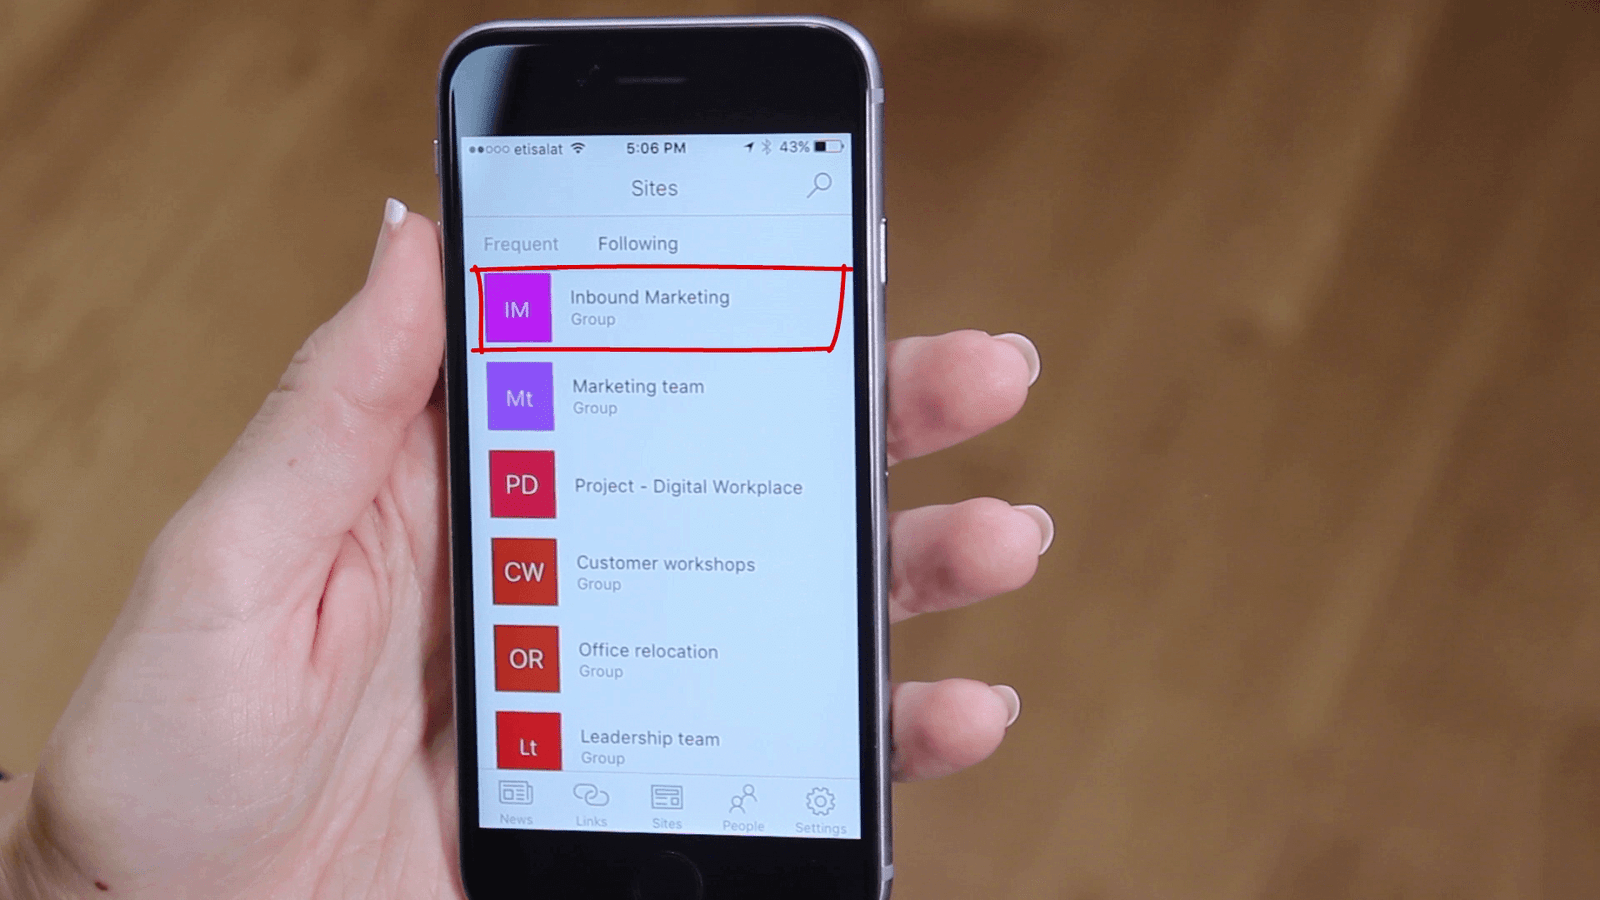
If you can’t see the SharePoint site you are looking for in the list, you can search for it by tapping the magnifying glass. In the Activity feed, I see the articles I uploaded earlier. I show them to Carrie, and after a constructive conversation, we agree to collaborate.
Filtering and grouping documents
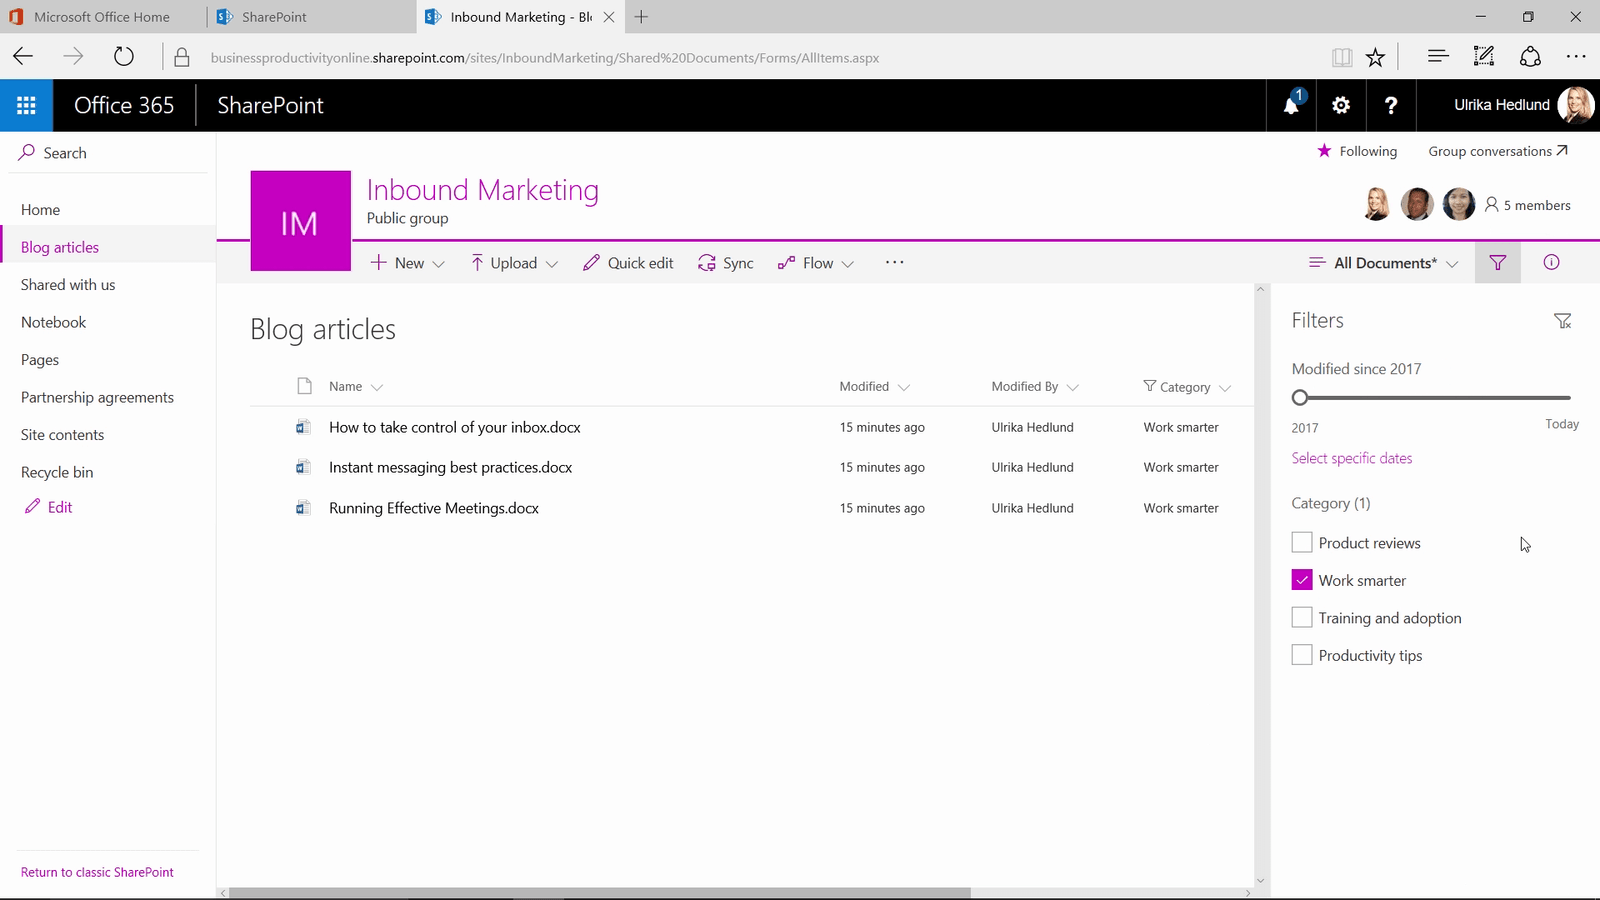
When I get back to the office, I go back to work on the blog articles. Carrie suggested that most of our blog articles should be about working smarter. To filter your documents click the ”Filter” icon, here I’ll select “Work smarter”, I can see that we only have 3 articles in this category.
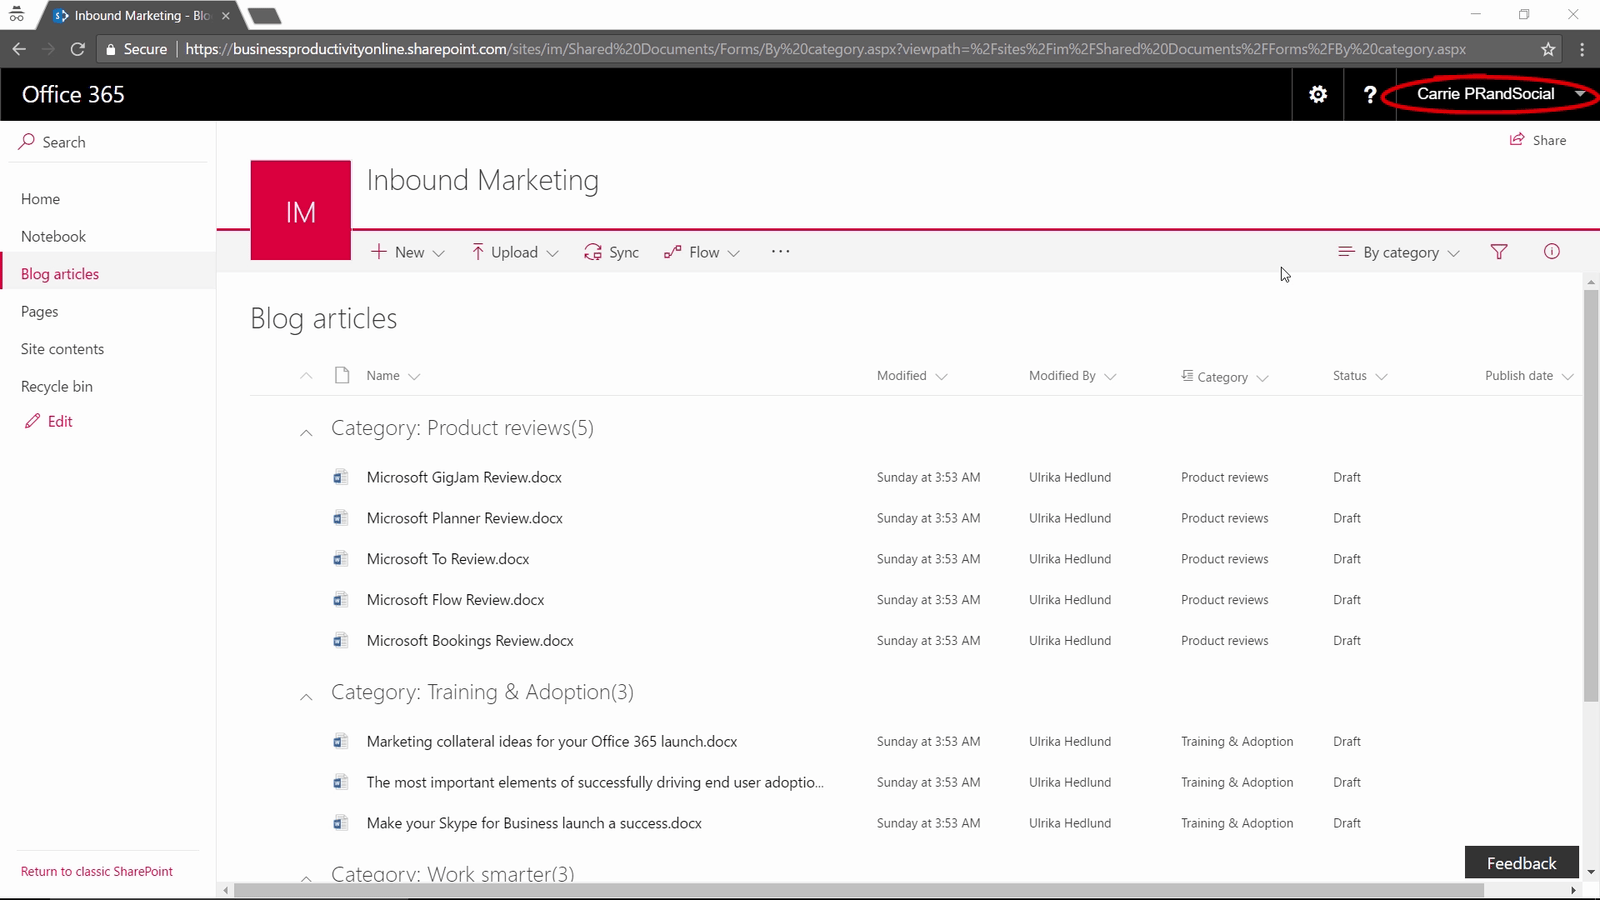
I decide to create a new view to get a better overview of the categories without having to filter. To create a new view, click the “settings” icon, “Library settings”, and then at the bottom of the page, select “Create View”. I’ll select to make a “Standard” view and then I’ll name it, “By category”. I’ll select to make it the default view. I’ll scroll down until I see the option called “Group by”. Here, I’ll select to group the library by Category, I’ll also select to “Expand” the list so that the documents in each group are visible. Finally, I’ll click “OK”. There, now we get a much better overview of the blog articles we have for each category.
Inviting external business partners
Now I’ll invite Carrie to join the team site. To add a user to a team site, click “Share” and then enter the email address of the person you want to invite. I’ll add a short description of what the site is for, and then click “Show options” . I’ll leave the default which is to add her to the members group with editing permissions and click “Share”.

When Carrie receives the invitation, she will be asked to log in using a Microsoft account. A Microsoft account is free to set up and can be associated with any email address. Carrie signs in and can now access the documents in the SharePoint site.
Staying up to date using alerts
I want to stay up to date on the blog article activity, so I decide to set up an Alert. To set up an Alert, at the top of the document library, click the “more options” button and select “Alert me.” I’ll name it “Blog articles – daily digest”, I’ll leave the default which is to be alerted by email, and to track all changes. I’ll select to get a daily summary and enter 4 pm as the delivery time and click OK.

There, thanks to SharePoint we can work smarter as a team by having a good process in place for our document collaboration
