
Captivate your audience using PowerPoint
In this story-based tutorial you will learn how to:
- Apply a presentation design
- Enhance slide with rich media
- Use animations and transitions
- Use “zoom” to navigate your slides
I’ve been invited to speak at a conference in Sweden about innovative ways to drive adoption. For days, I’ve been gathering my ideas in OneNote, but now it’s time to create a proper outline that I can share with my co-presenters, Cecilia and Göran.
Outline
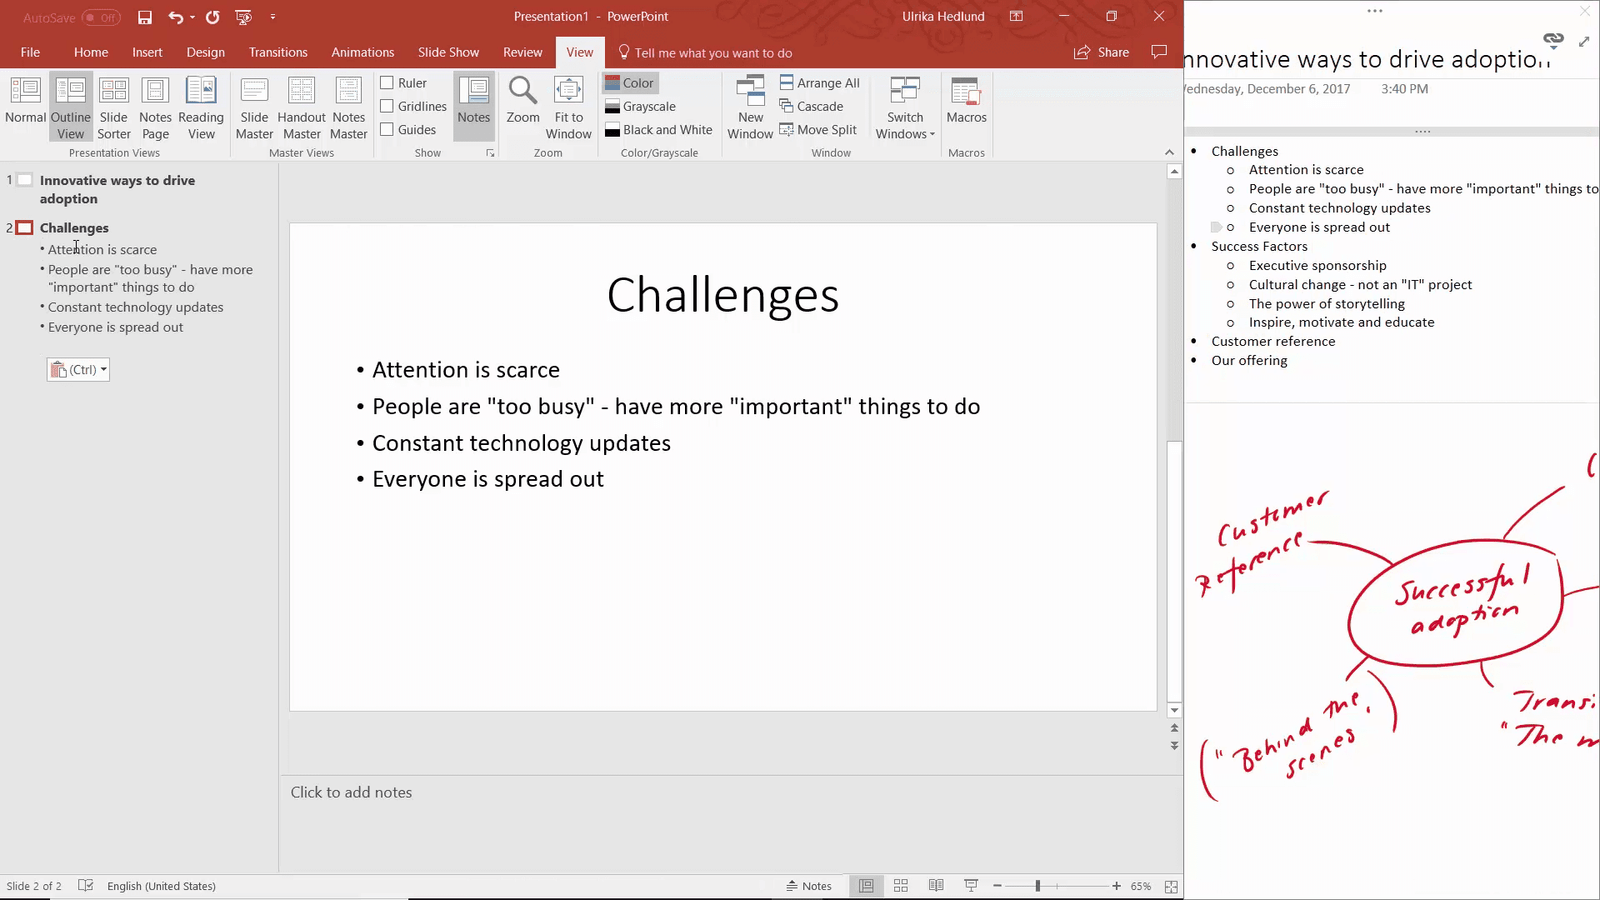
I open PowerPoint and select a “Blank presentation”. I click “View” and then “Outline View”. I open OneNote, click “View” and then “Dock to Desktop”.
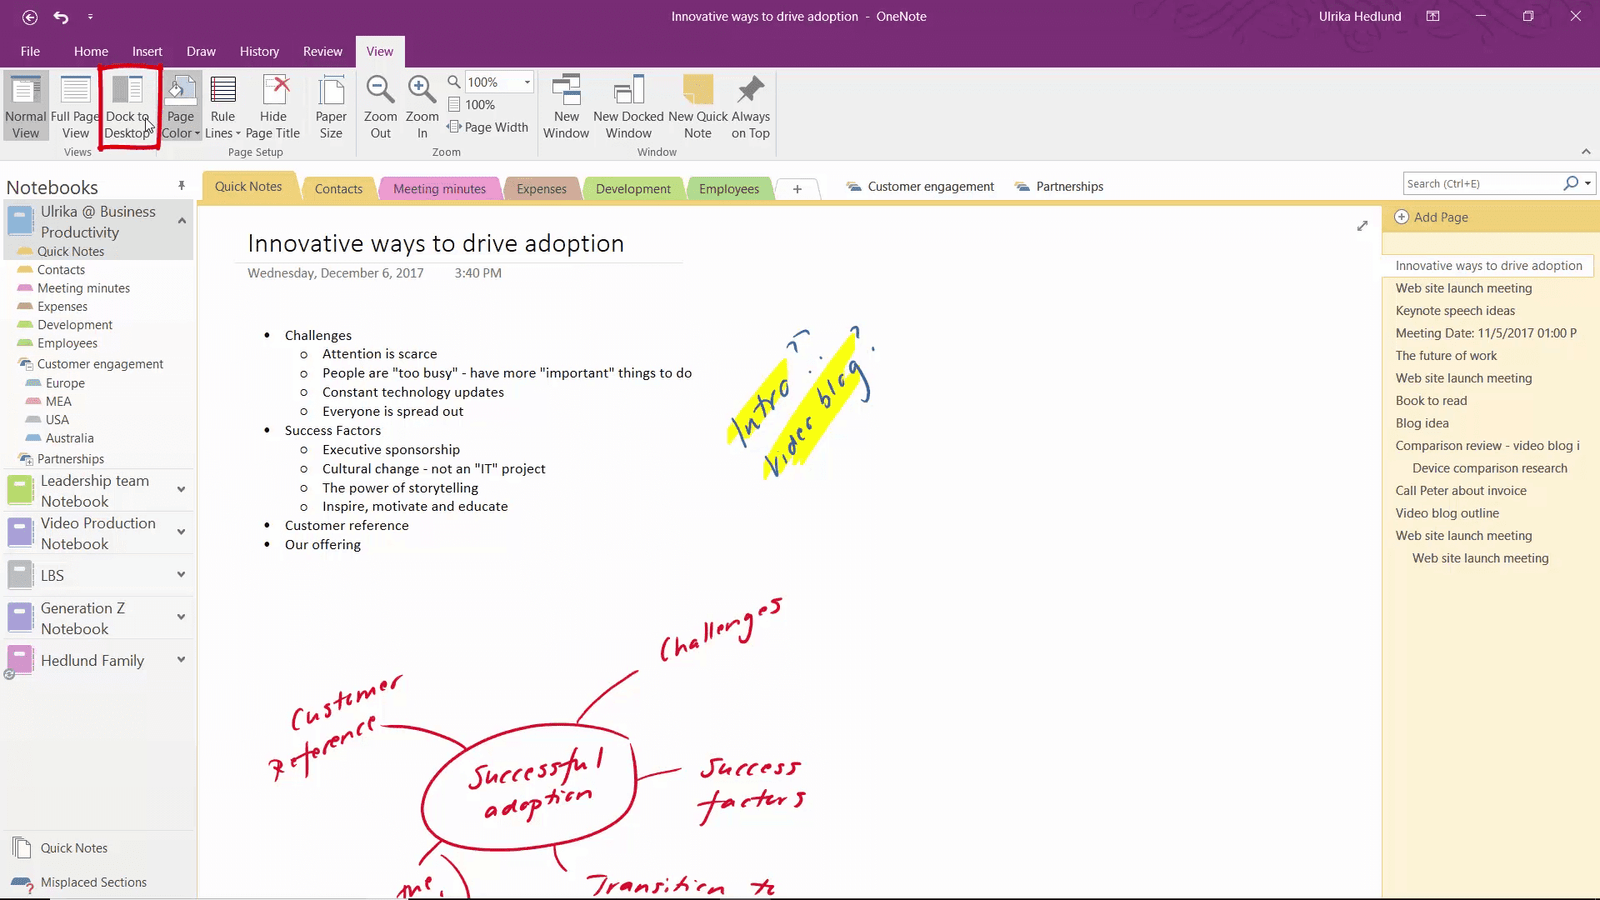
Now I can start organizing my thoughts into a presentation outline by copying my text into PowerPoint.
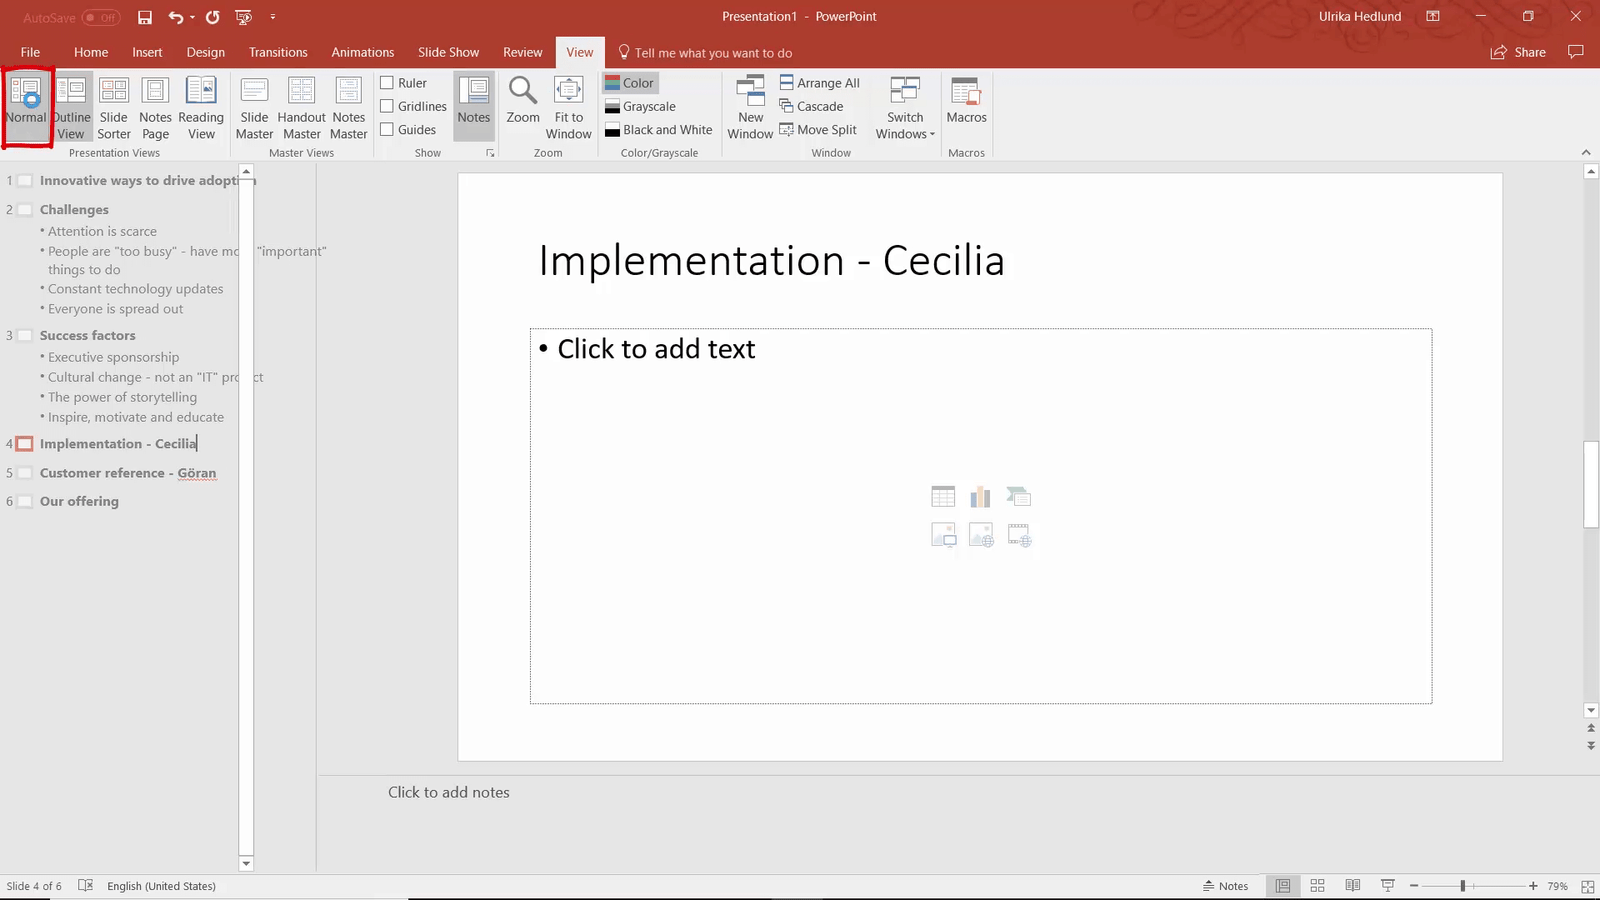
To go back to the main view I click “Normal.”
Save to OneDrive
I want to add a comment to Cecilia regarding her content. To add a comment to a slide, click the speech bubble up in the right corner and click New.

Or, as always if you don’t know where something is, just type what you want to do in “Tell me”. I’ll move the comment to the right of the slide and enter my comment, press Enter and close the comments pane. Now I’ll share it with my co-presenters. To share the presentation, click “Share”.
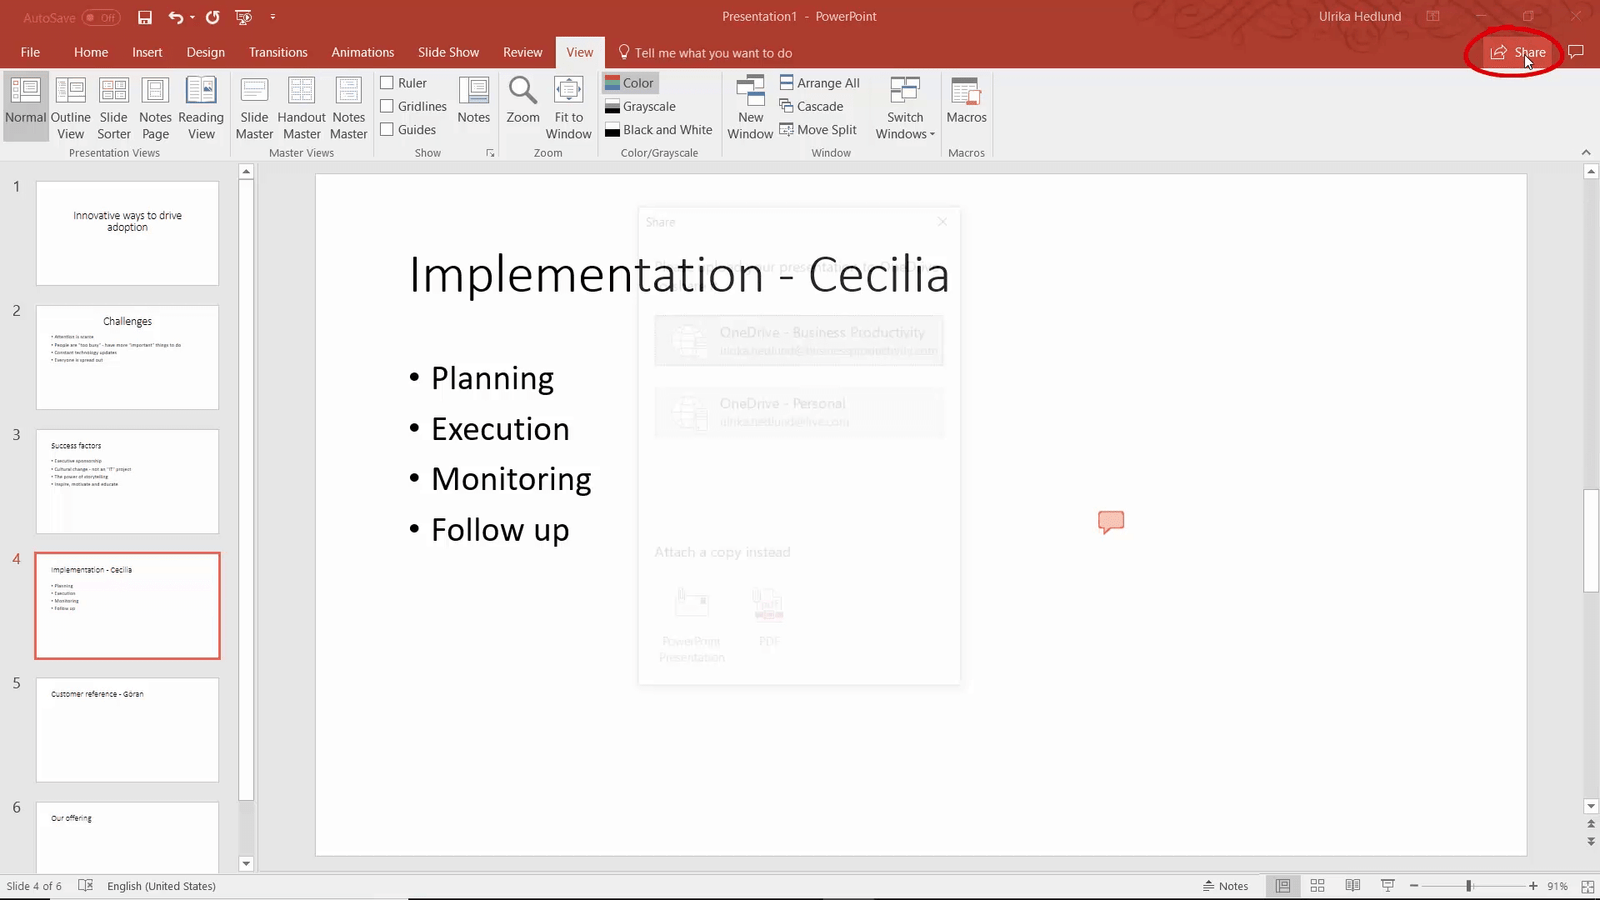
I’ll select to save it to my business OneDrive folder, give it a name and click Ok. The document is saved to the cloud, where we will all be able to work on the presentation together in real-time.

Later in the afternoon, we have an online meeting using Skype for Business, where we agree on the structure of the presentation.
Sections
The following day, I work on my slides at home. I can see that Cecilia and Göran have already added their parts. I continue to add some more slides. To structure the presentation better, I organize the slides into sections. To add a section, right-click above the slide where you want the section to start, select “Add Section”

give it a name and then click “Rename”. I’ll add sections throughout the whole presentation for the main elements.
Using templates/ Slide Master
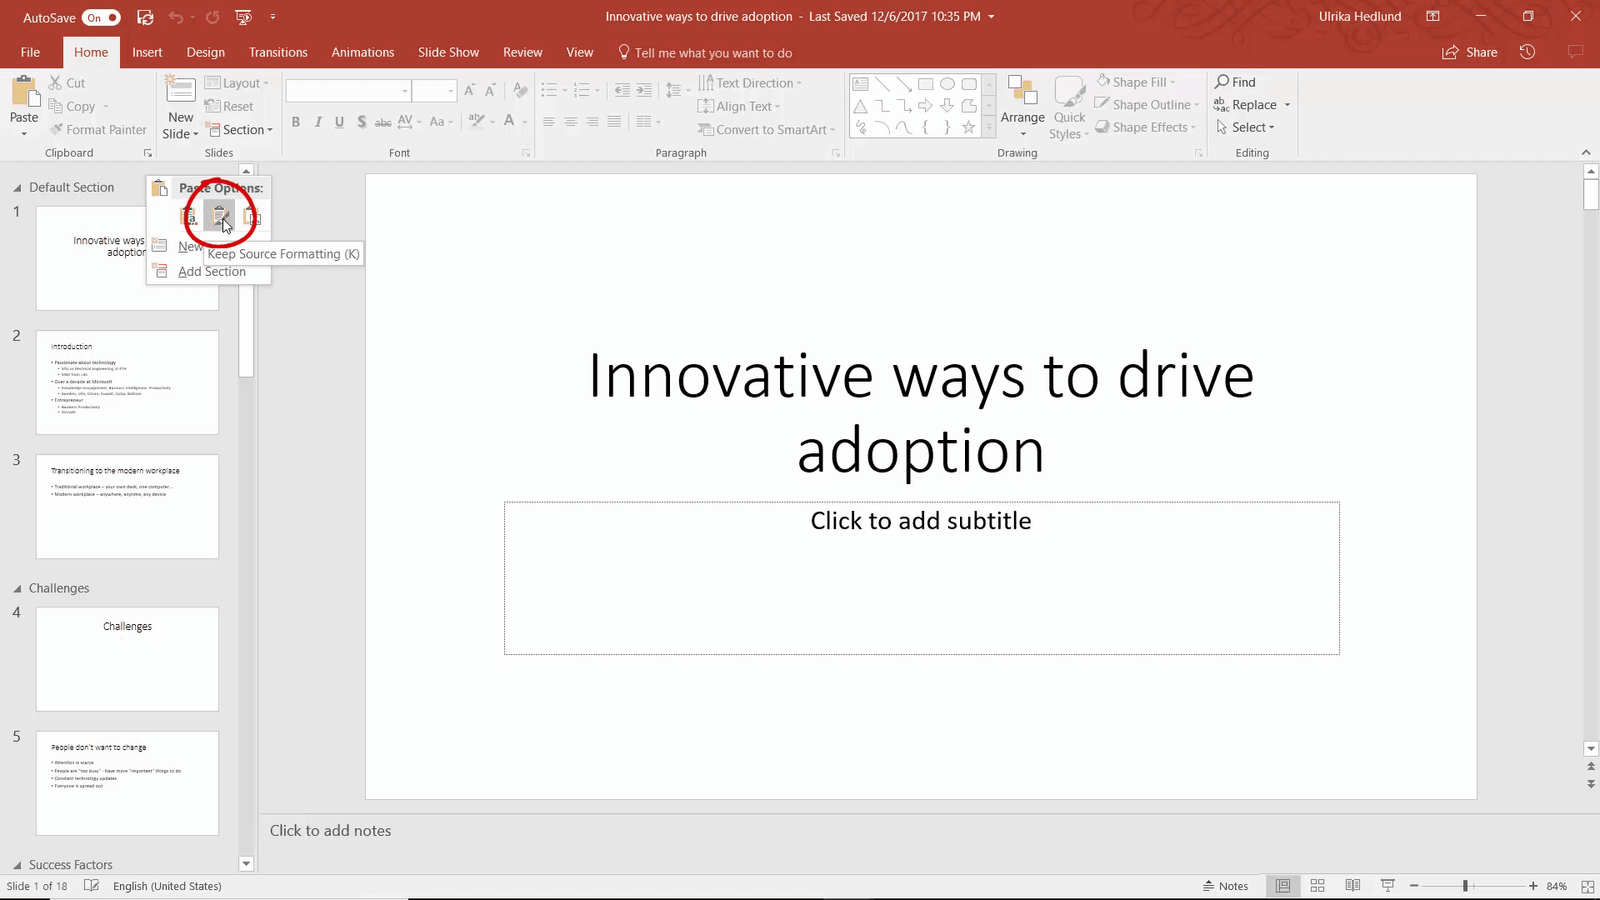
Normally, I use one of our corporate templates for presentations, but here I have been given a simple black and white template from the event organizers. I mark the slides, right-click and select copy.

I go back to my presentation, right-click and select “Keep source formatting”.
The slides are pasted into my presentation with the formatting intact, meaning that the Slide Master that the slides get their look and feel from, has been added to my presentation. To see the slide master, I’ll click “View” and then “Slide Master”.

By default, when you create a blank presentation, PowerPoint uses a Slide Master called “Office Theme”.

To remove that slide master, I’ll right-click and select “Delete Master”. Now only the Slide Master from the event template remains.

To close the Slide Master click “Close Master View”.

I can see that the slides have been updated with the look and feel of the event template.
Designer
Now I want to add some images to my section slides. To insert an image from your computer, click “Insert” and then “Pictures”.

I’ll select a picture of a man looking challenged. As I insert the image the “Design ideas” pane opens with some recommended layout options.

I’ll select one that I like, and then I’ll do the same for the other section slides.
Image tools
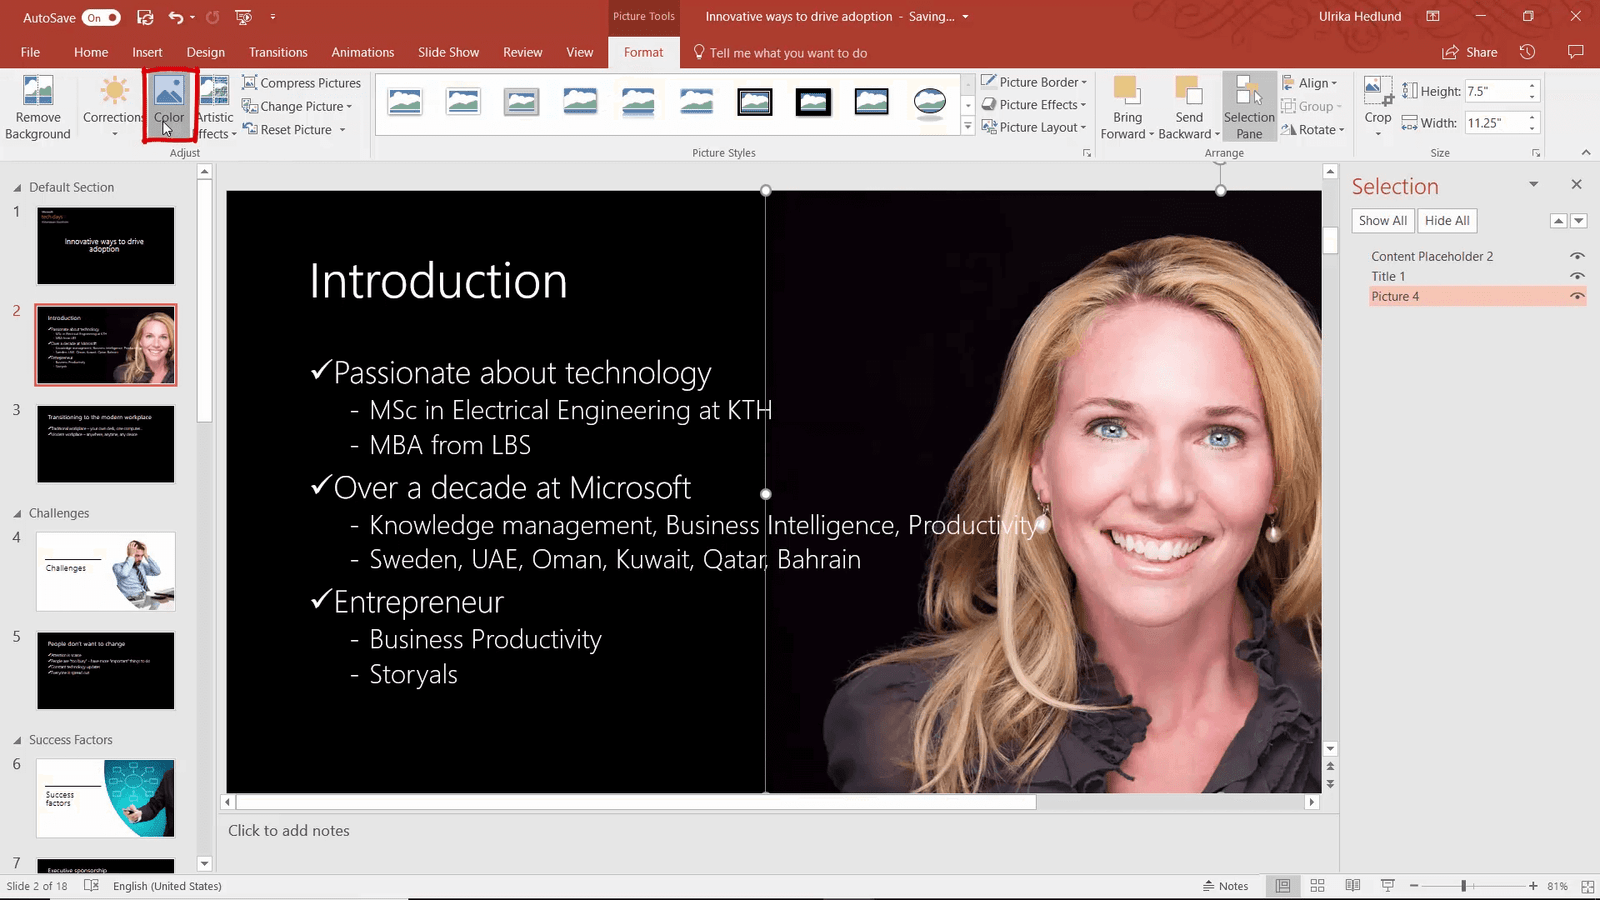
Next, I’ll go to the introduction slide and insert my profile picture. Again the Design Ideas pane opens. I don’t want to use any of the suggested designs, so I’ll just close the panel. I’ll click “Selection Pane” to see all layers of objects in the slide.

I’ll drag the profile picture to the bottom layer and then I’ll move the image a bit to the right. I want the picture to be a bit more subtle so I’ll click “Color” and hover over some different color options. Here I’ll select Sepia.
Animation
I don’t want all the text to come at once. To add animation to your text, mark the text box, click the “Animation” tab, “Add animation” and then select an animation.

I’ll select the “Wipe” animation which is my personal favorite for text. I’ll click “Effect options” and change the direction to “from left” and make sure the animation is set to “By paragraph”.
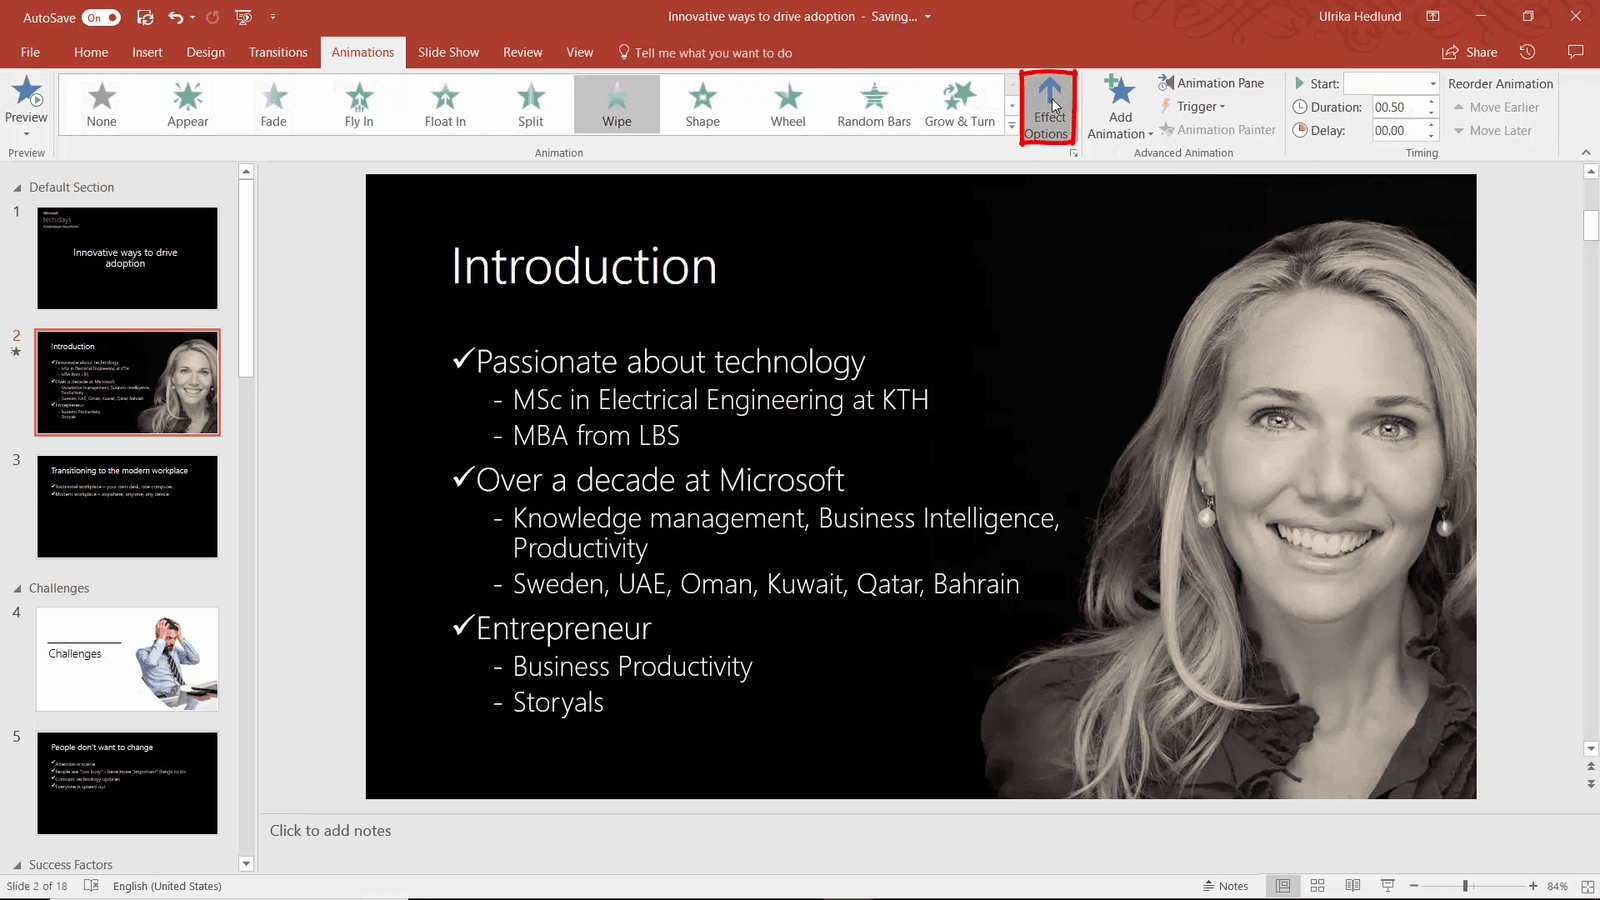
There, now I can talk about the different stages one at a time.
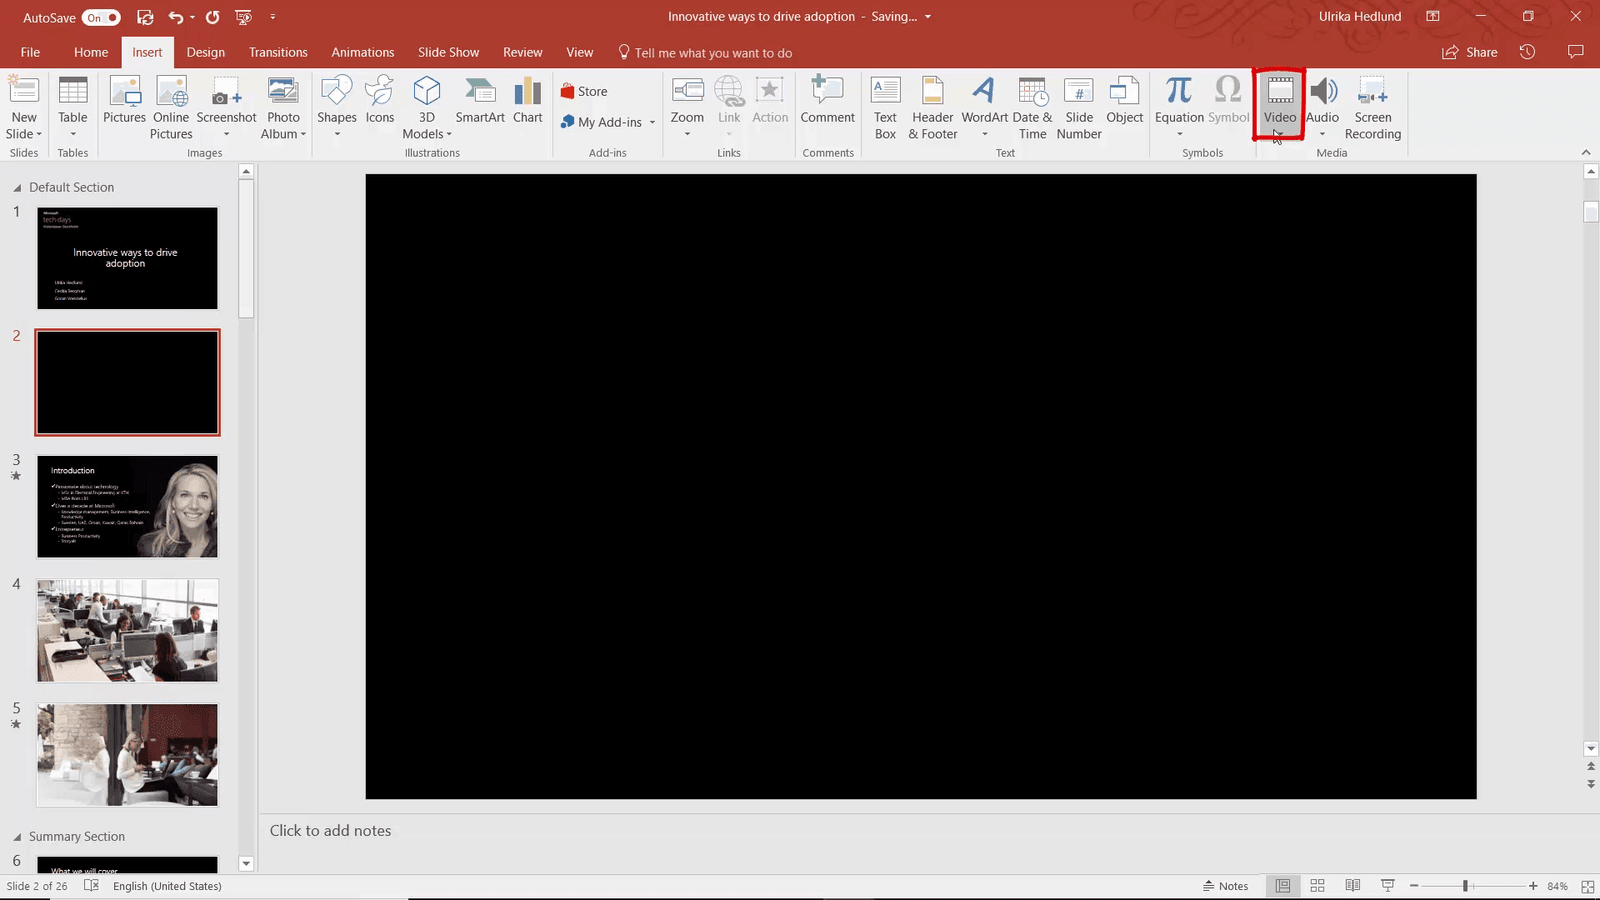
Video
I want to have a more impactful intro to the presentation by adding a video. To insert a video to a slide, click “Insert” “Video” and then select if it’s an online video or a video on your computer.
I’ll select “Online Video” and search on YouTube for an episode of my video blog “Succeed in the digital workplace”. I’ll select it and click “Insert”.

I’ll resize it a bit and position it in the center with the help of the automatic positioning guides. To test the video I’ll click the “Slide Show” button in the Status Bar and then click “Play”.

Great, that works!
Icons
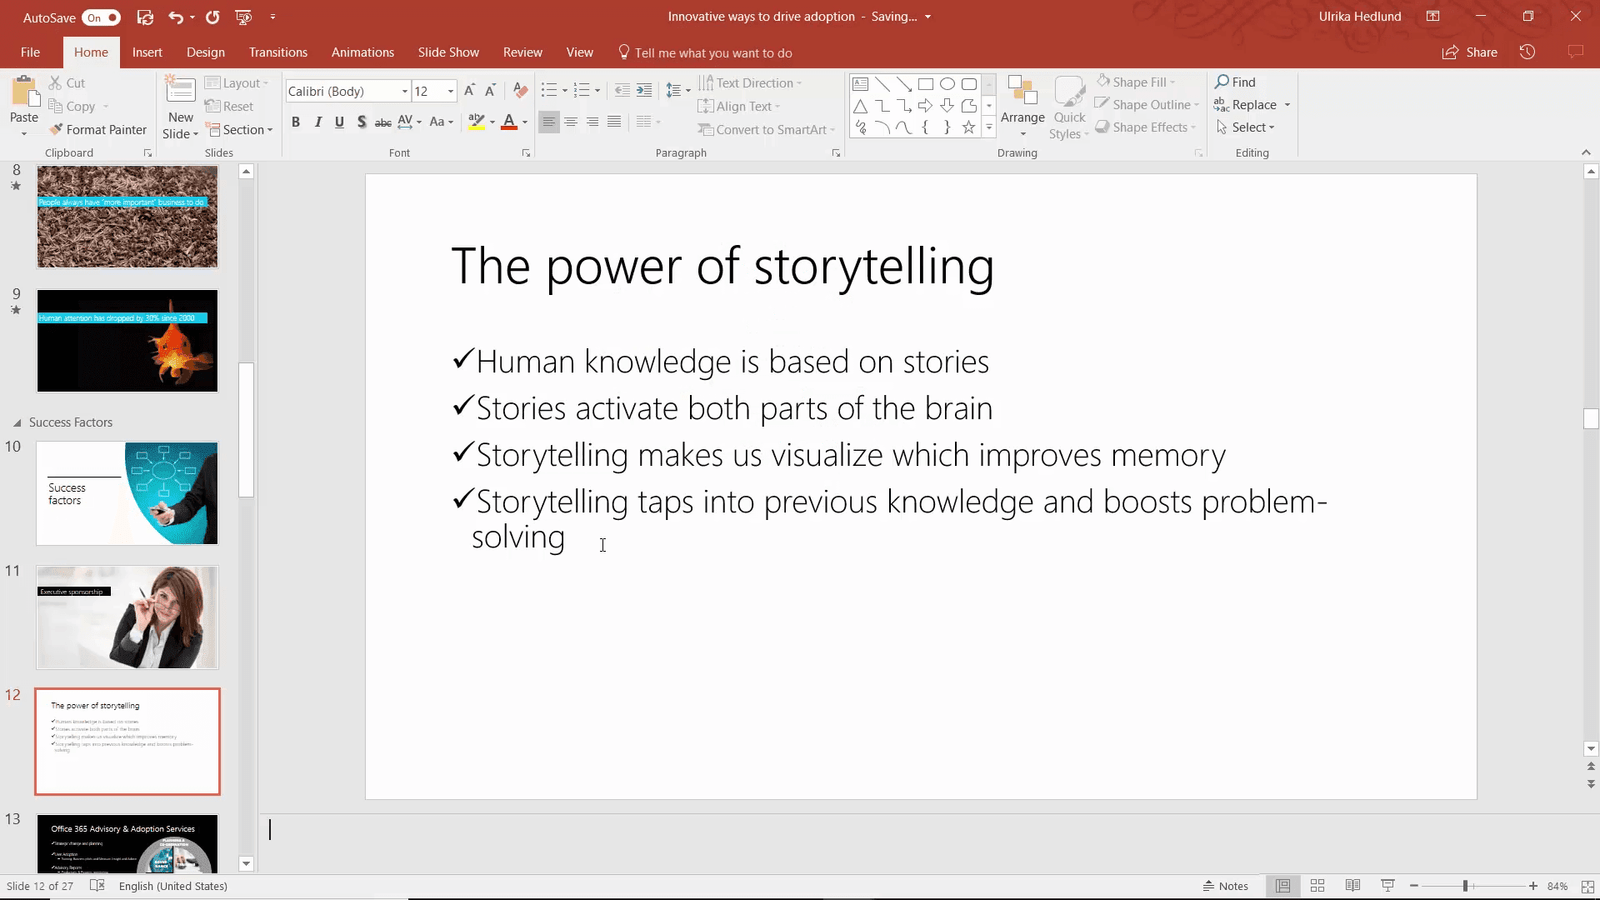
Here I have a slide with points about the power of story-telling. Instead of having text here I want symbols.
I’ll mark the text and move it into my notes area. I’ll click “Insert” and then “Icons”.
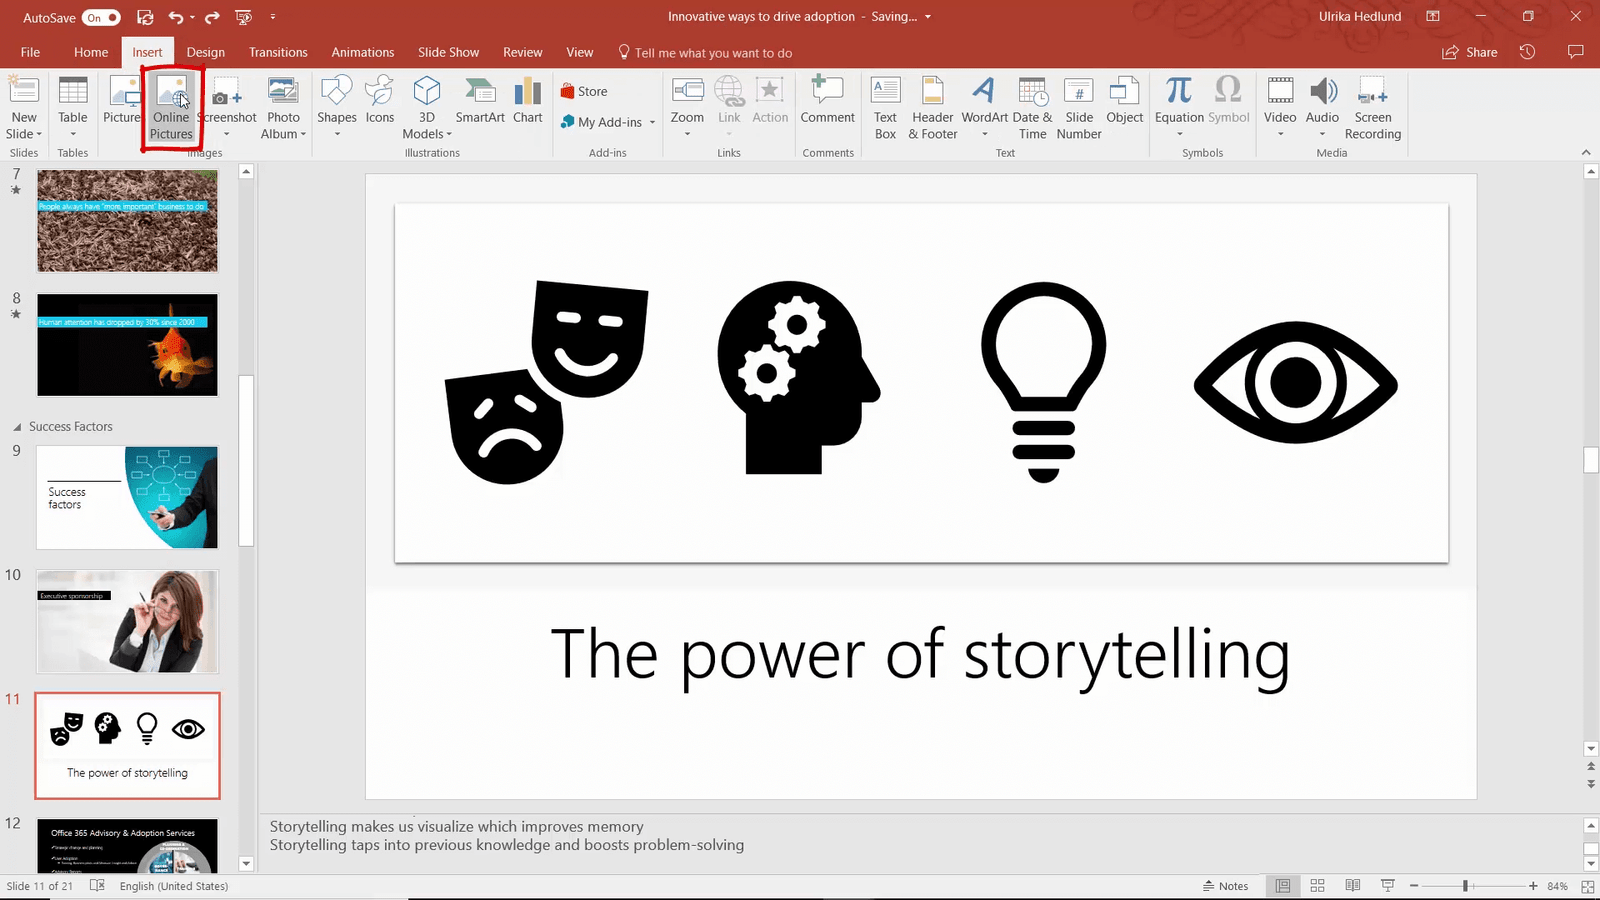
Here I’ll browse through the various categories to find icons that represent what I want to say. When I’m done I click “Insert”. Again, the Designer kicks in and I’ll select a design that I like. I want the color of the icons to have the same orange color as our Storyals logo. I’ll click “Insert”, “Online pictures”, search for Storyals and then select the image.
I’ll press the CTRL key, mark all the icons, right-click and select “Fill” and then “Eyedropper”.
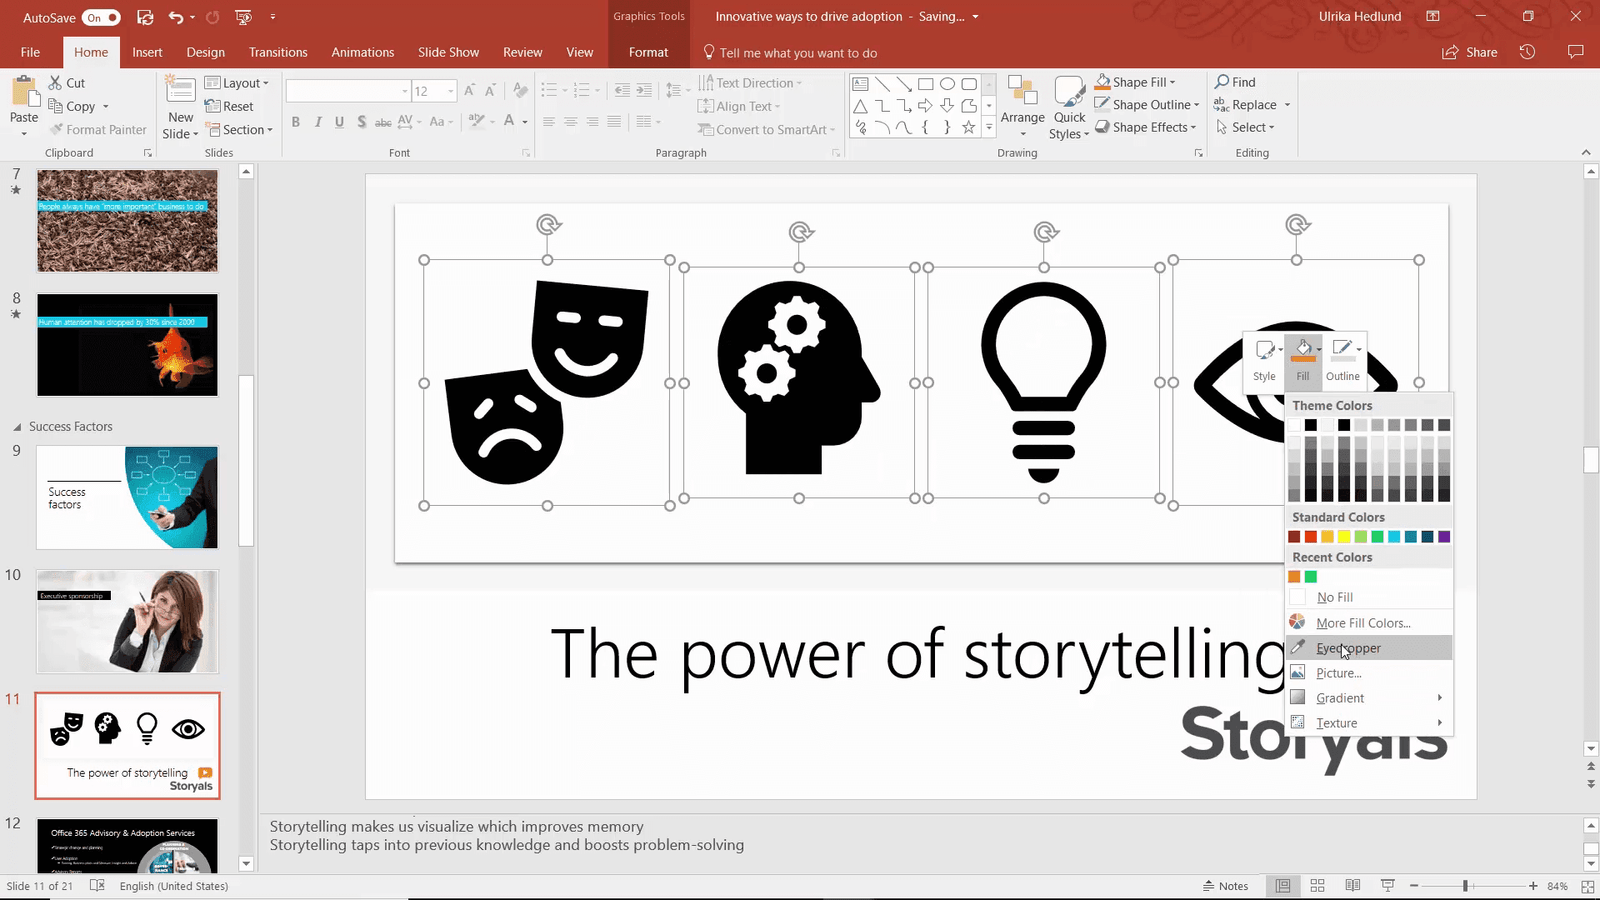
I’ll position the eyedropper and then pick the color I want. There, now that I’m done I’ll just remove the logo.
Drawing
Here I have a slide where I want to talk about how we want to inspire, motivate and educate people. I have no image for this, so I will draw one.
Since I have a device that supports digital ink, I’ll detach the screen and use the pen to draw on the screen. I’ll illustrate my message by drawing a stick figure going through different stages.

Screen capture
On this slide, I want to include a live preview of our web site. But instead of having a still image I’ll make it more alive by inserting a screen recording. To insert a screen recording, first open the application you want to record. Go back to PowerPoint, “Insert” and then “Screen Recording”.
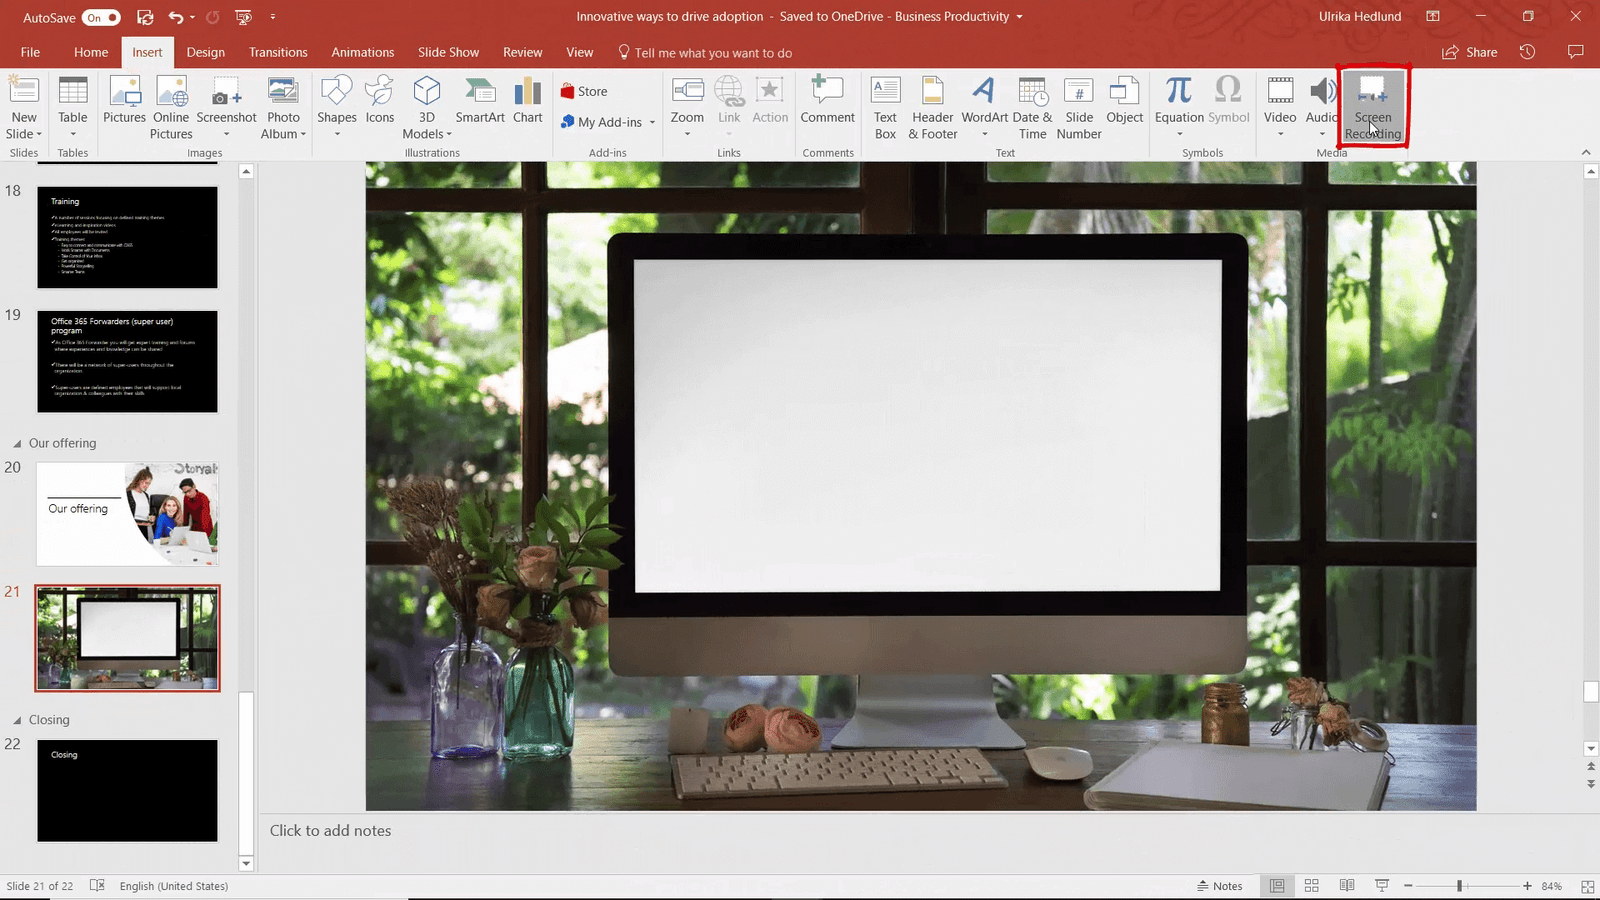
Click “Select area” and mark the part of the screen you want to record, here I’ll mark the whole browser window.

Next, click Record. The recording window count-down starts, now I can start recording what I want to show.

To stop the recording, click Windows key, Shift, Q, or just hover to the top of the screen and click Stop.
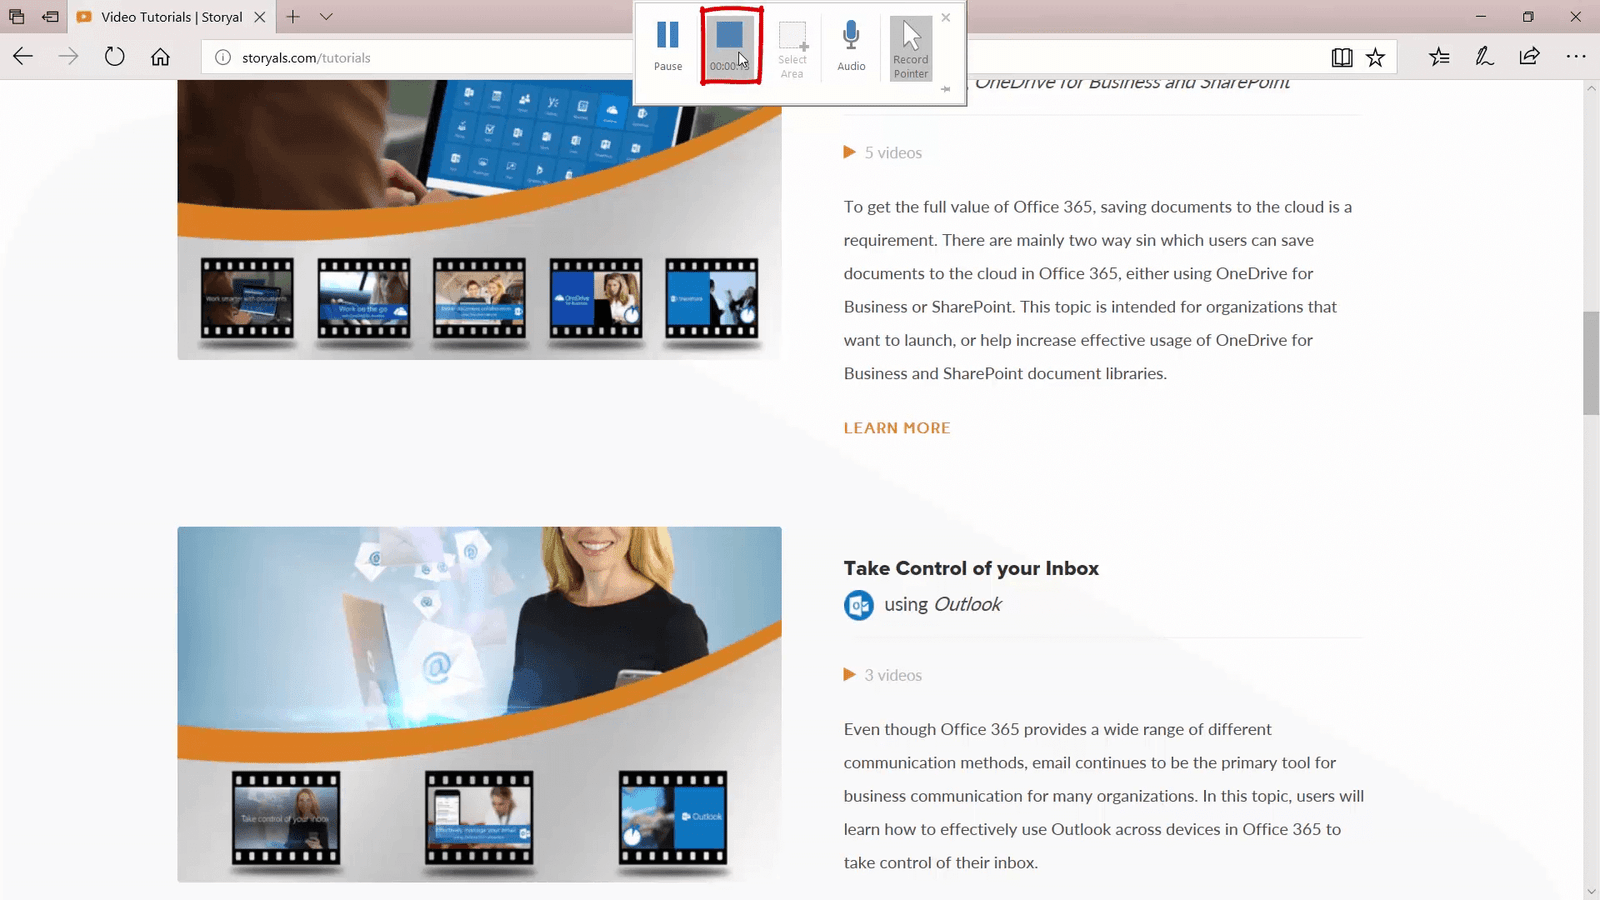
Go back to PowerPoint and now you can see the recording inserted as a video. To remove the ending of the video where the recording toolbar showed up, I’ll click the “Playback” tab and then “Trim video”.

I’ll drag the red ending bar a few seconds to the left and then click “OK” to save. Now, I’ll place the recording into the laptop frame and preview. Perfect!
Transitions
Here I’ve made some graphs using shapes and icons. Instead of adding animations to make these graphs come alive I can use transitions. To add transitions, mark the slides you want to apply the transition to by holding down the CTRL key and then marking the slides. Click the “Transitions” tab and then select one from the gallery.

If you have objects that resize or move, the “Morph” transition is a great option. With just a single click the Morph transition makes the shapes come alive – Nice!
Zoom slide
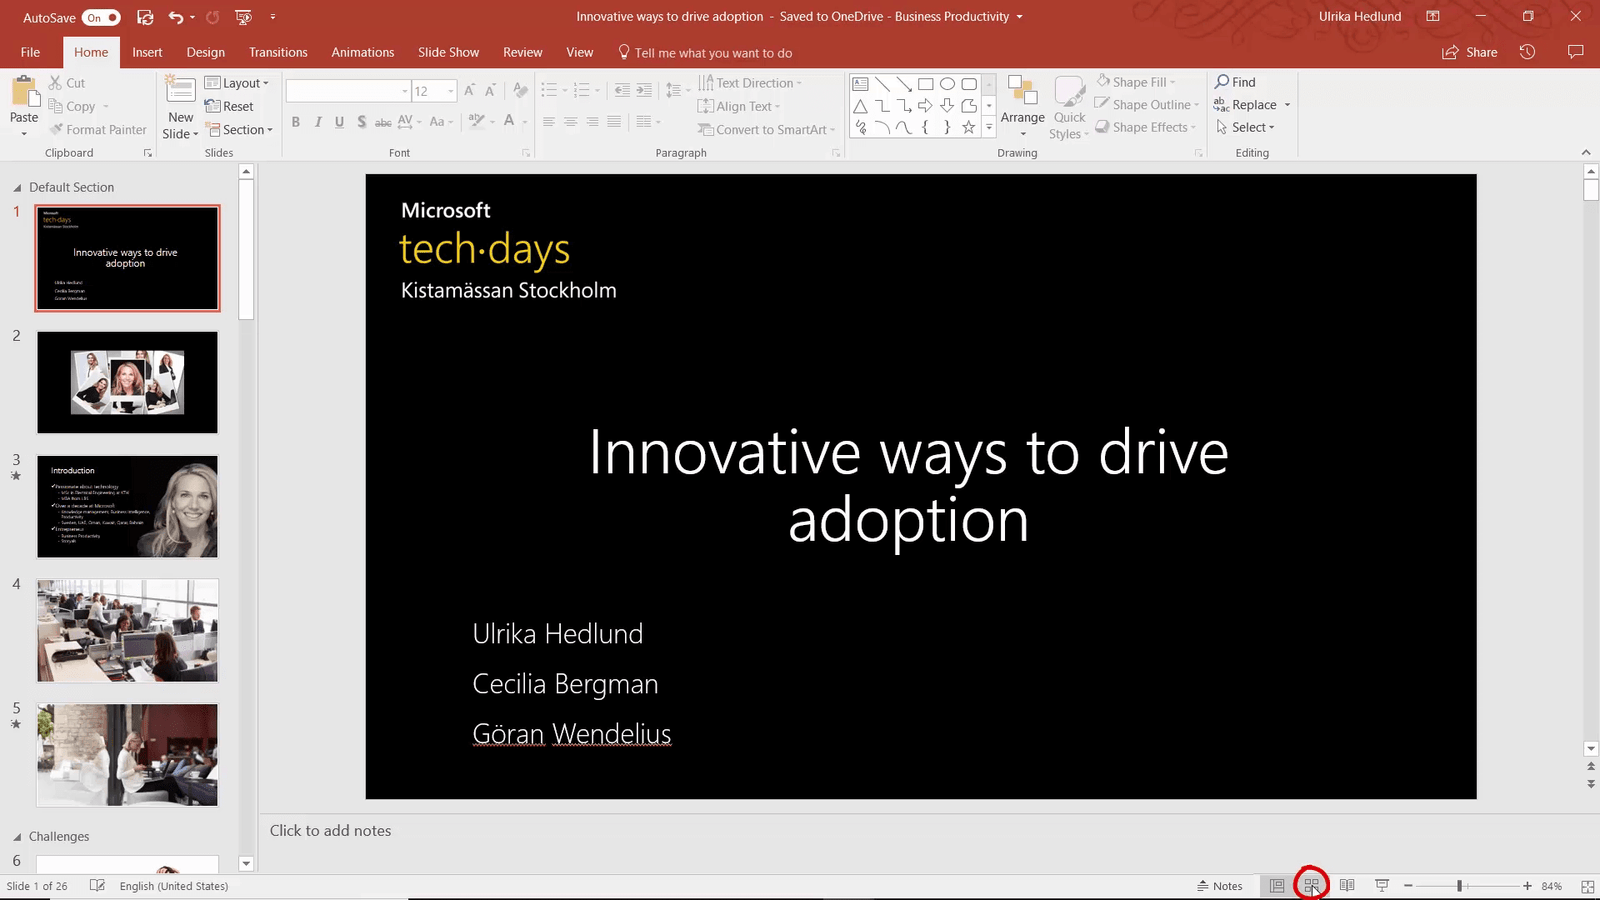
I click the “Slide sorter” in the Status bar to get a better overview of the slides.
Instead of inserting a text-based agenda slide between each section, I want something more dynamic. I’ll place the marker where I want to insert my agenda slide, click “Insert”, “Zoom” and then “Summary Zoom”.
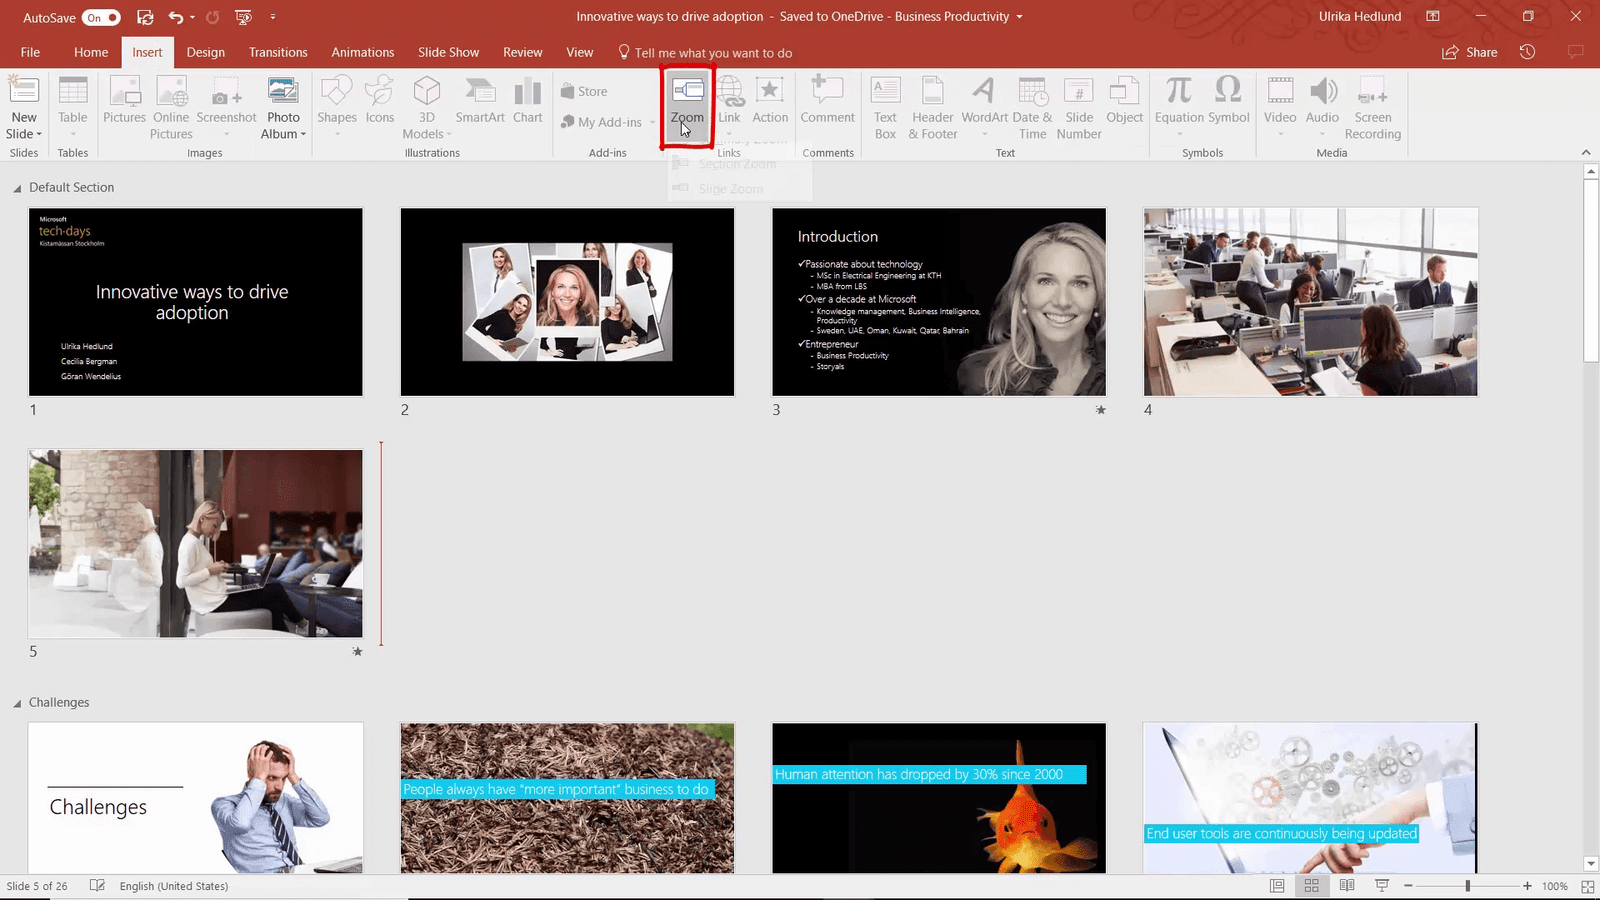
My section slides are already marked so I’ll just deselect the closing slide since I don’t want it as part of the agenda and then I’ll click “Insert”. Finally, I’ll just add a title. There, now I have a nice way to navigate through my slides in a logical flow. After each section, the presentation automatically goes back to this summary slide. Wonderful – now I’m done!
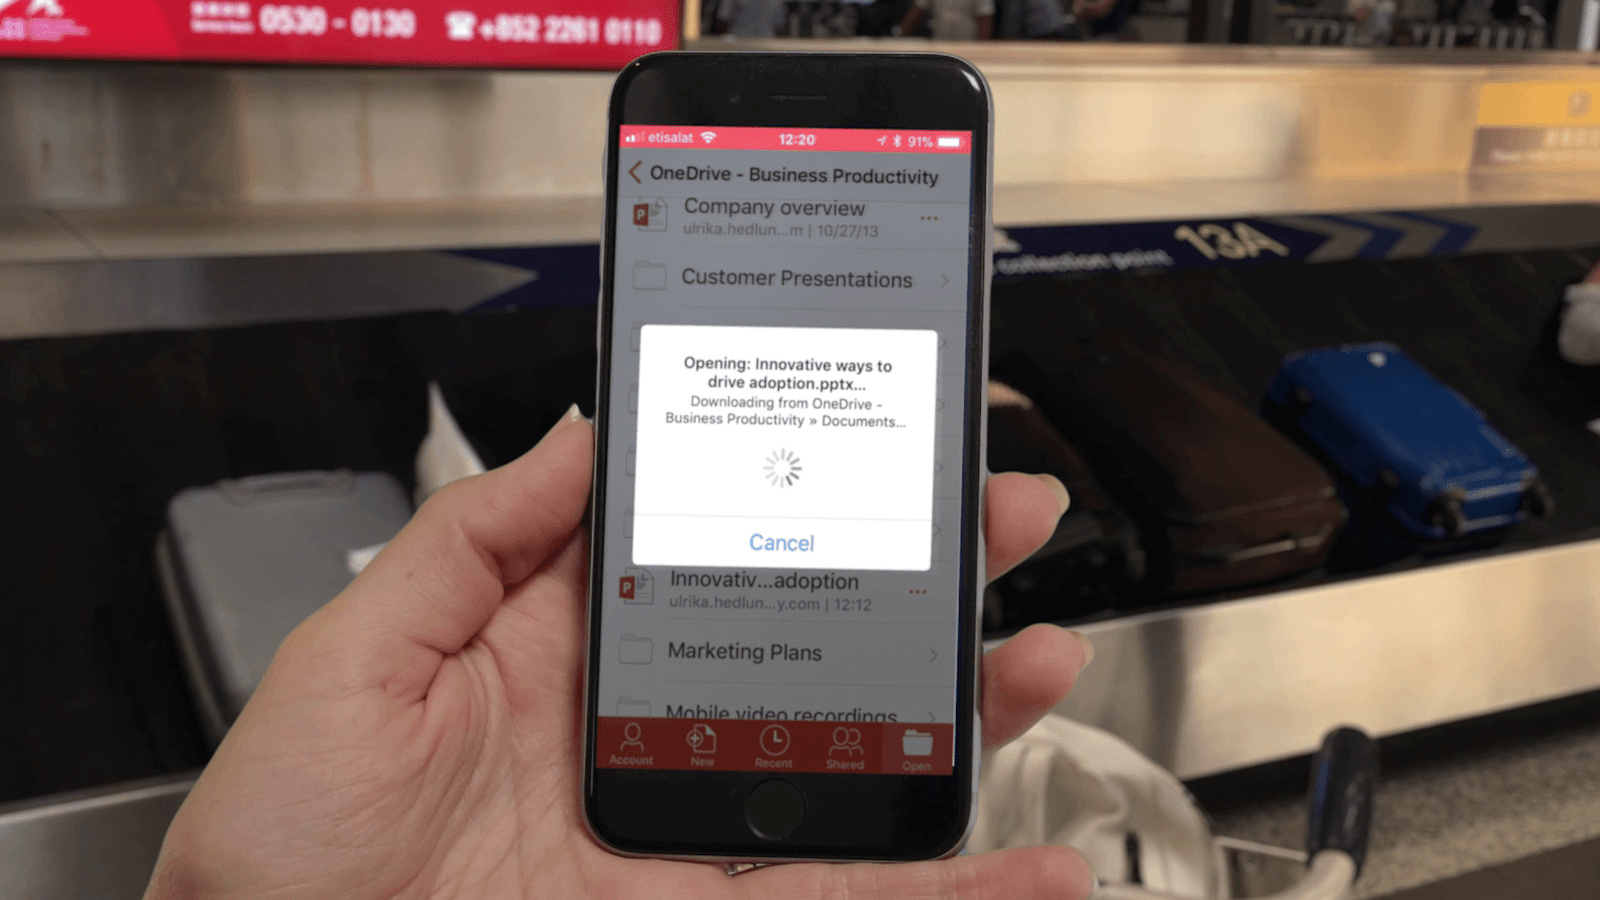
PowerPoint mobile
On the way to the event, I review the slides on my mobile and make some final changes.
My co-presenters and I review the presentation together before it’s showtime. Thanks to our thorough preparations, we feel fully confident and deliver an eye-catching presentation in a jam-packed room!